As automotive enthusiasts we’ve all been subject to long nights in front of a computer searching for parts, creating wishlists (most which we only hope to be ale to afford one day), searching classifieds, dreaming of what we one day want our cars to be. This is one of great reasons us “car people” are able to gather together and chat for hours upon hours about the past, present, and future of our cars. I for one could never have imagined the car turning into what it has become four years ago when it was bone stock. As our interests change our goals quickly begin to evolve.
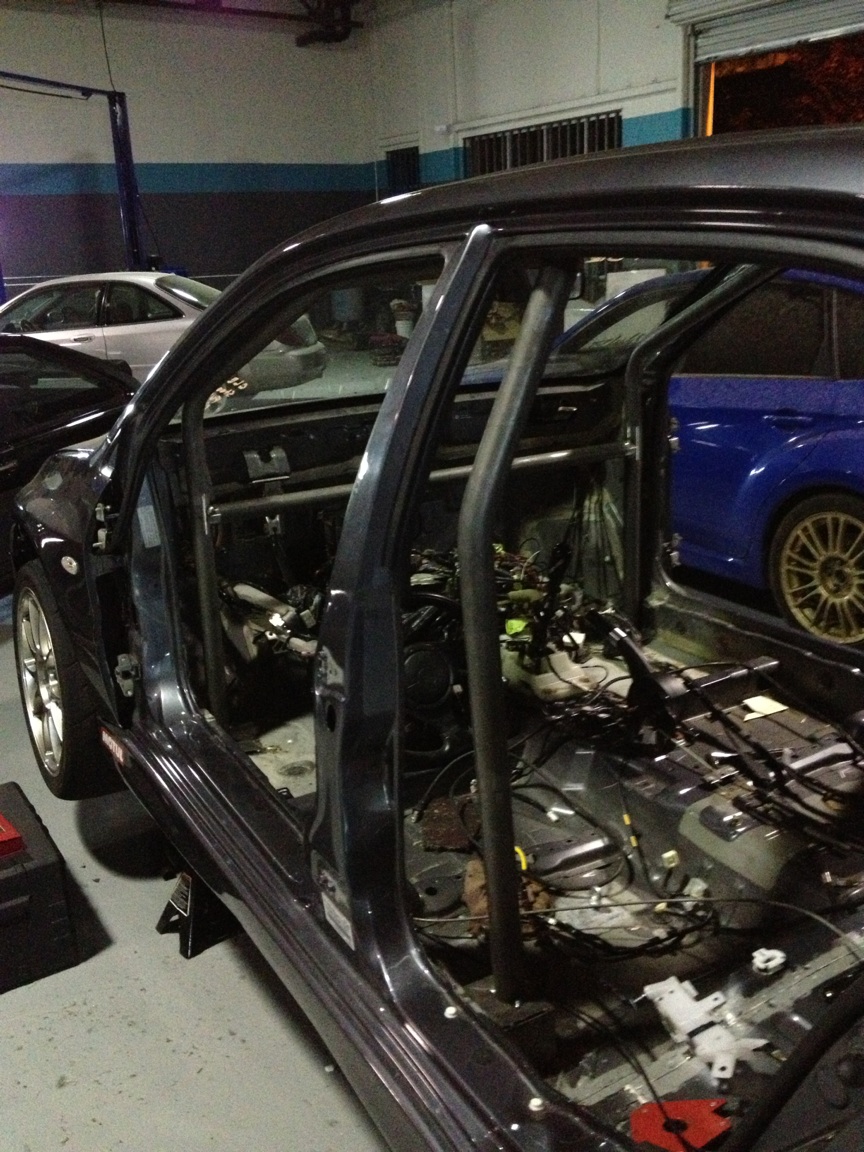
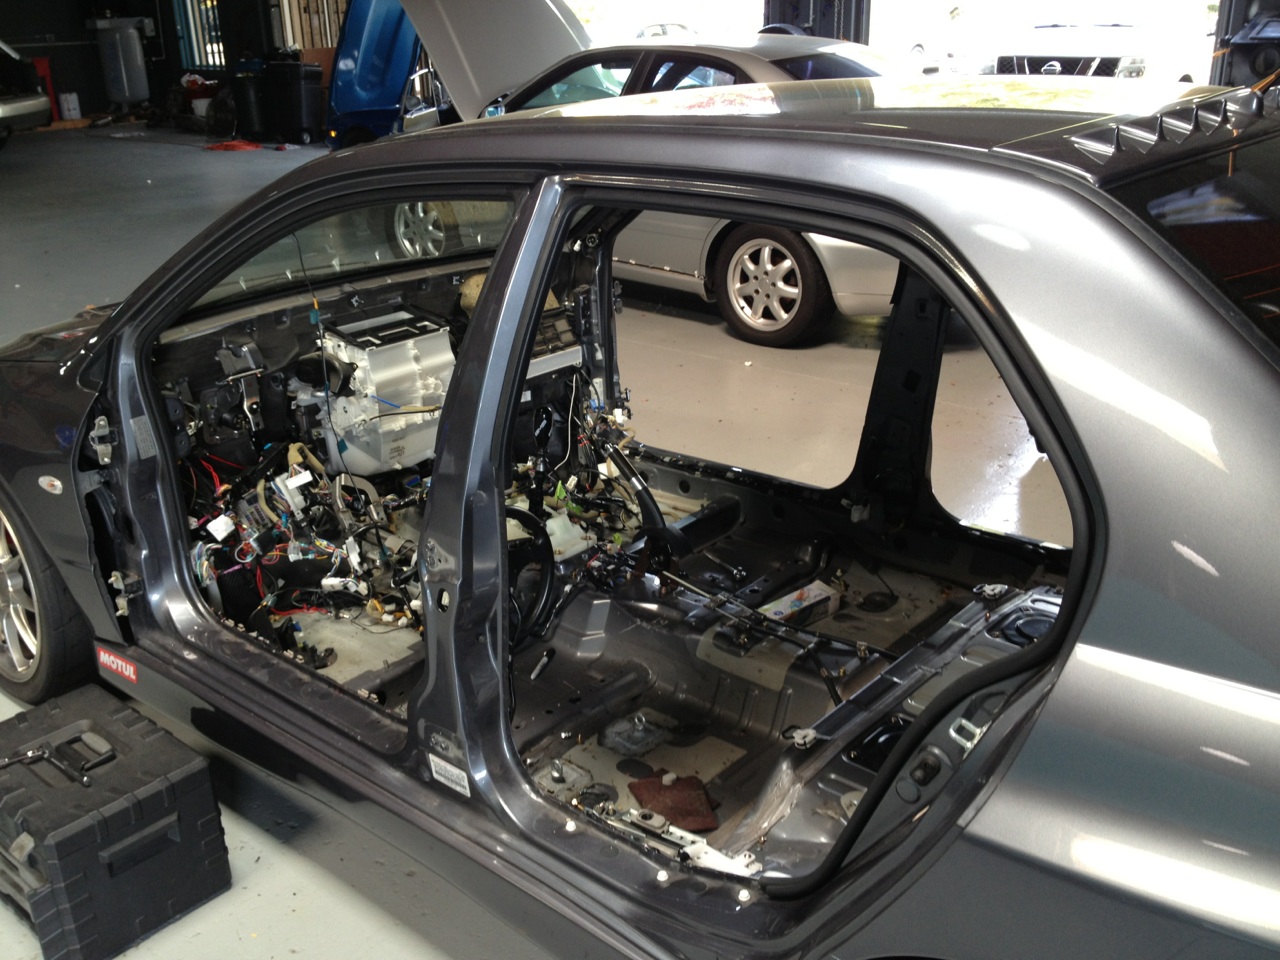
A little less than a year ago the car received a new 2 liter long rod setup mated to an AMS 750R turbo kit producing 500 whp at a conservative 24 lbs of boost. The jump in power alternatively meant higher speeds at the race track. With the car being able to achieve 120 mph+ pretty quickly with only a Sparco harness bar and Schrothe 4-point belts, there was a growing desire for more safety. After our February event at Buttonwillow the car sat in the shop for a while as I contemplated caging it, around the same time a fatality occurred at a local track. This was more than enough to give me the final push I needed in making the decision. The same week we began pulling out the interior, seats, dash, headliner, carpets, windshield, everything.
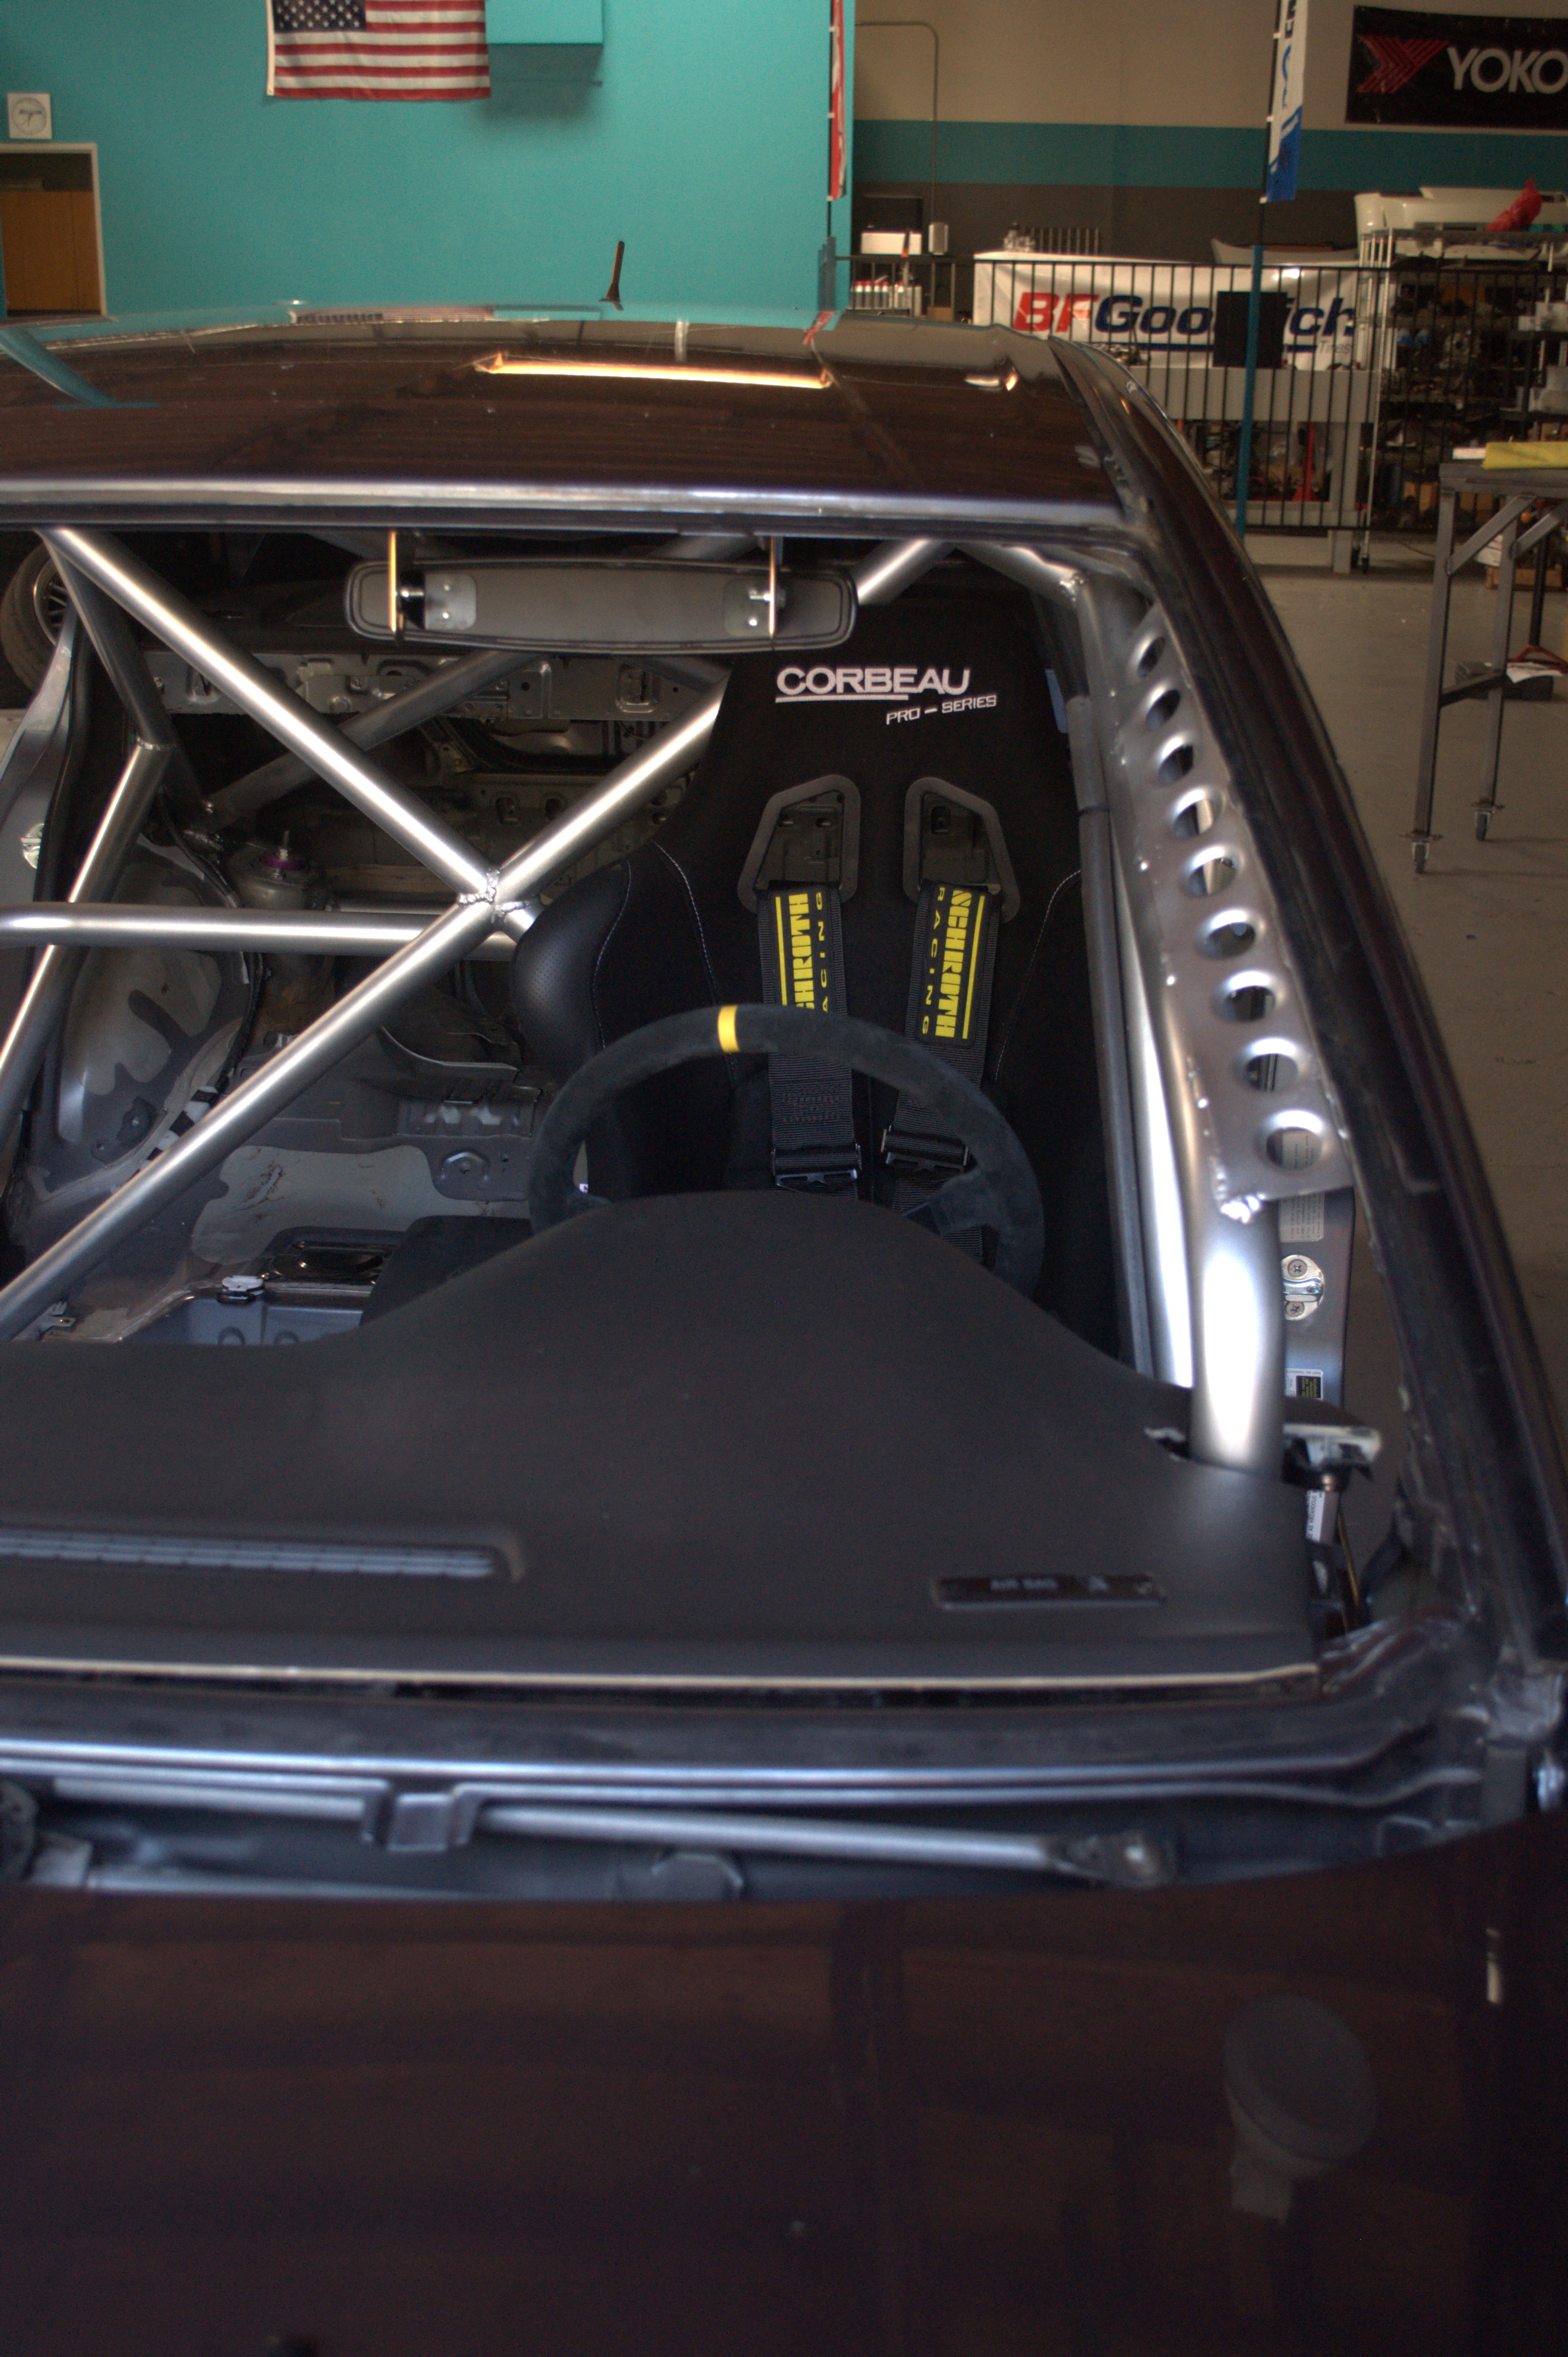
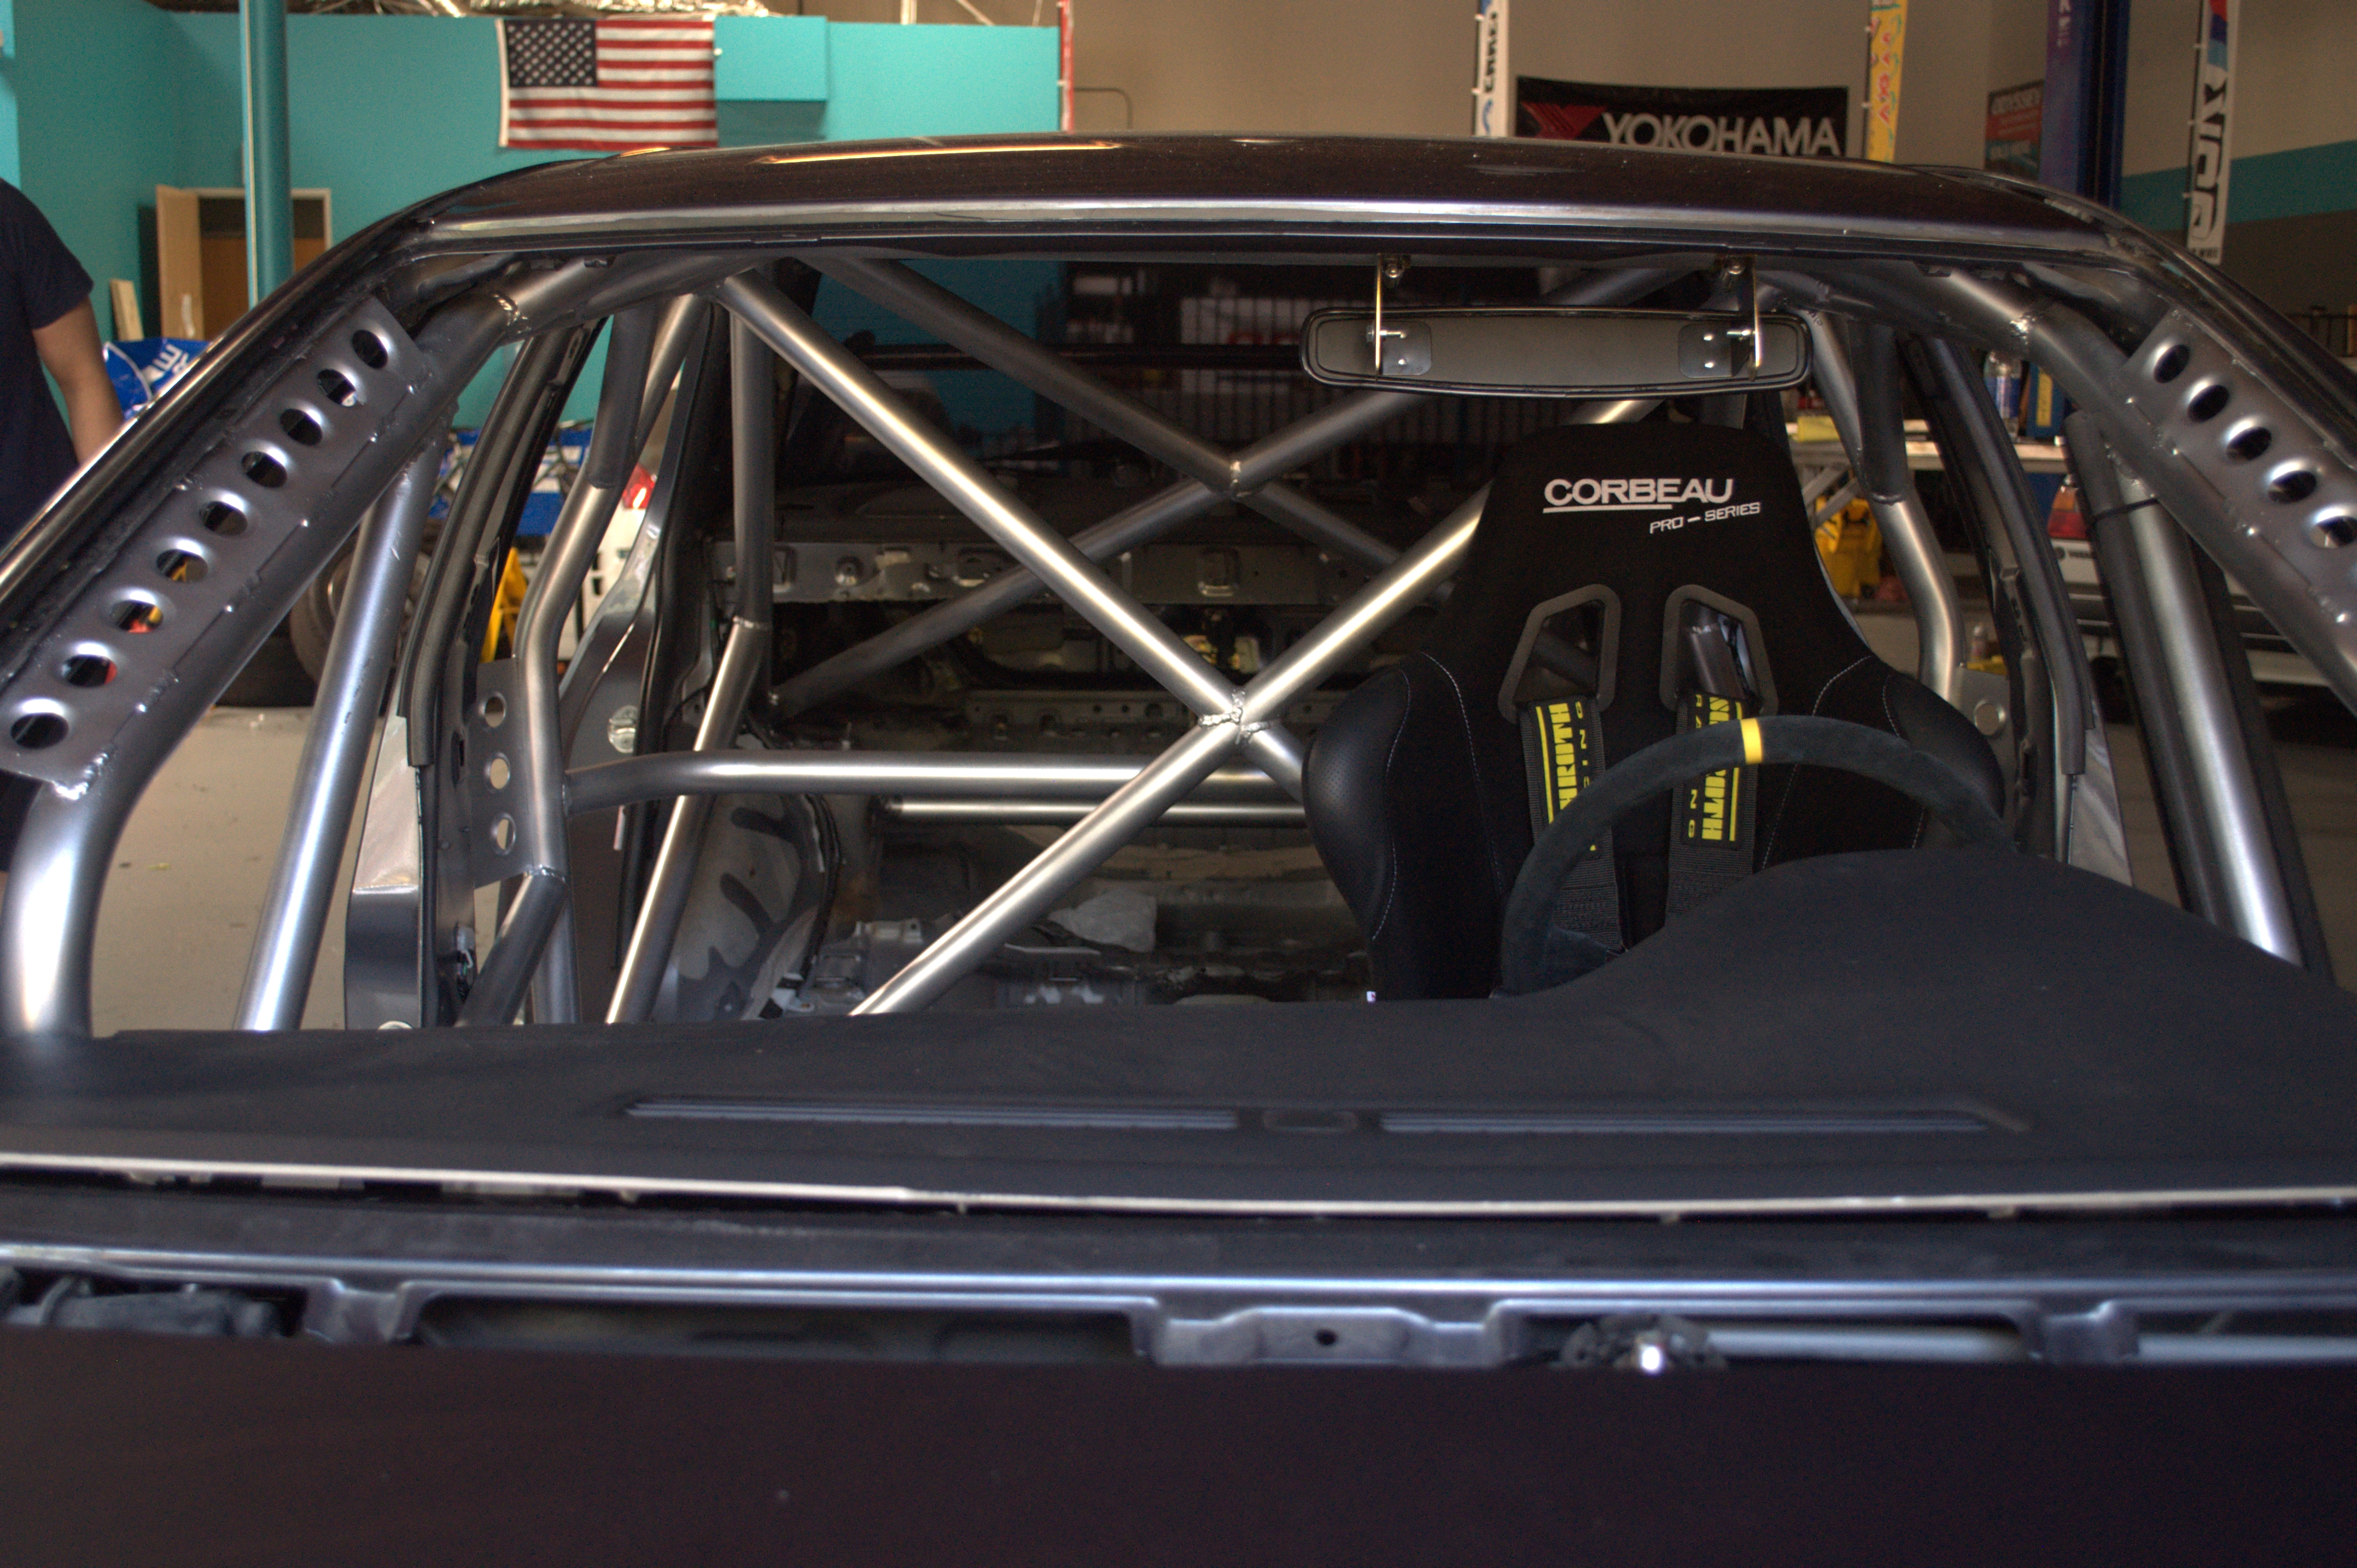
The next step was design; this step is one of the most crucial of the entire cage process. I always tell customers who are interested in building a cage to take some time, search the web, and bring by 20 or so examples of cages that they like. From the A pillar bars to the back stays, the more we know on how the customer wants to cage the better we can design it to their liking. This was the same exact process we took to this cage. We started by saving pictures from popular road racing EVO’s around the world. By no means did we copy their design; in most cases we modified examples together, improving them along the way to fit our specific application. In the end our goal was to build a full cage with maximum safety in mind while still keeping the OEM door panels and center console as to keep a clean, street-able look to the interior. The heater core, blower, A/C system, radio, and speakers were removed from the car.
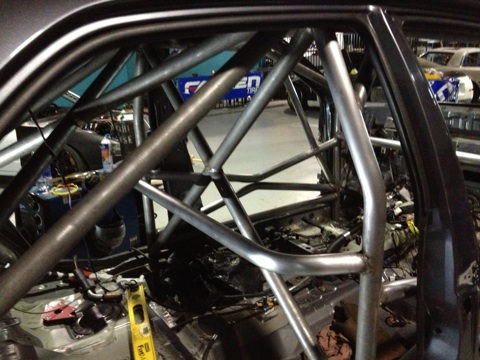
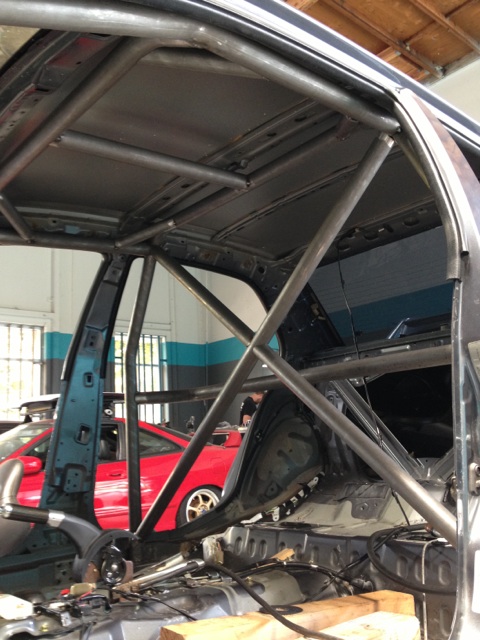
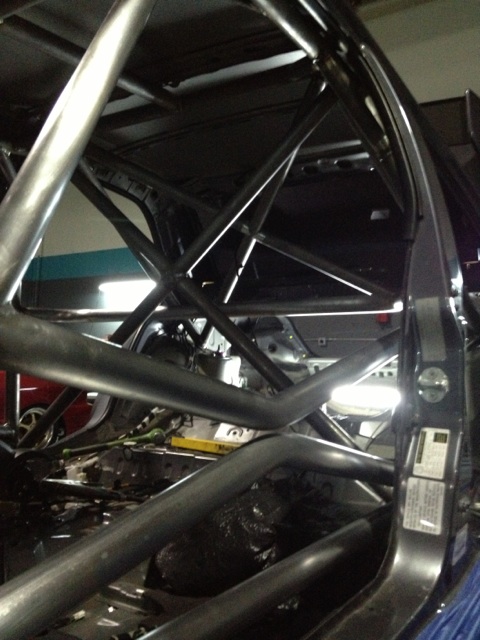
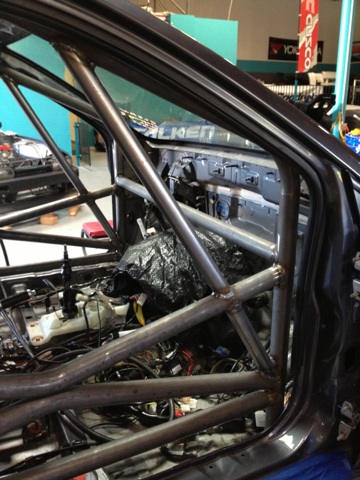
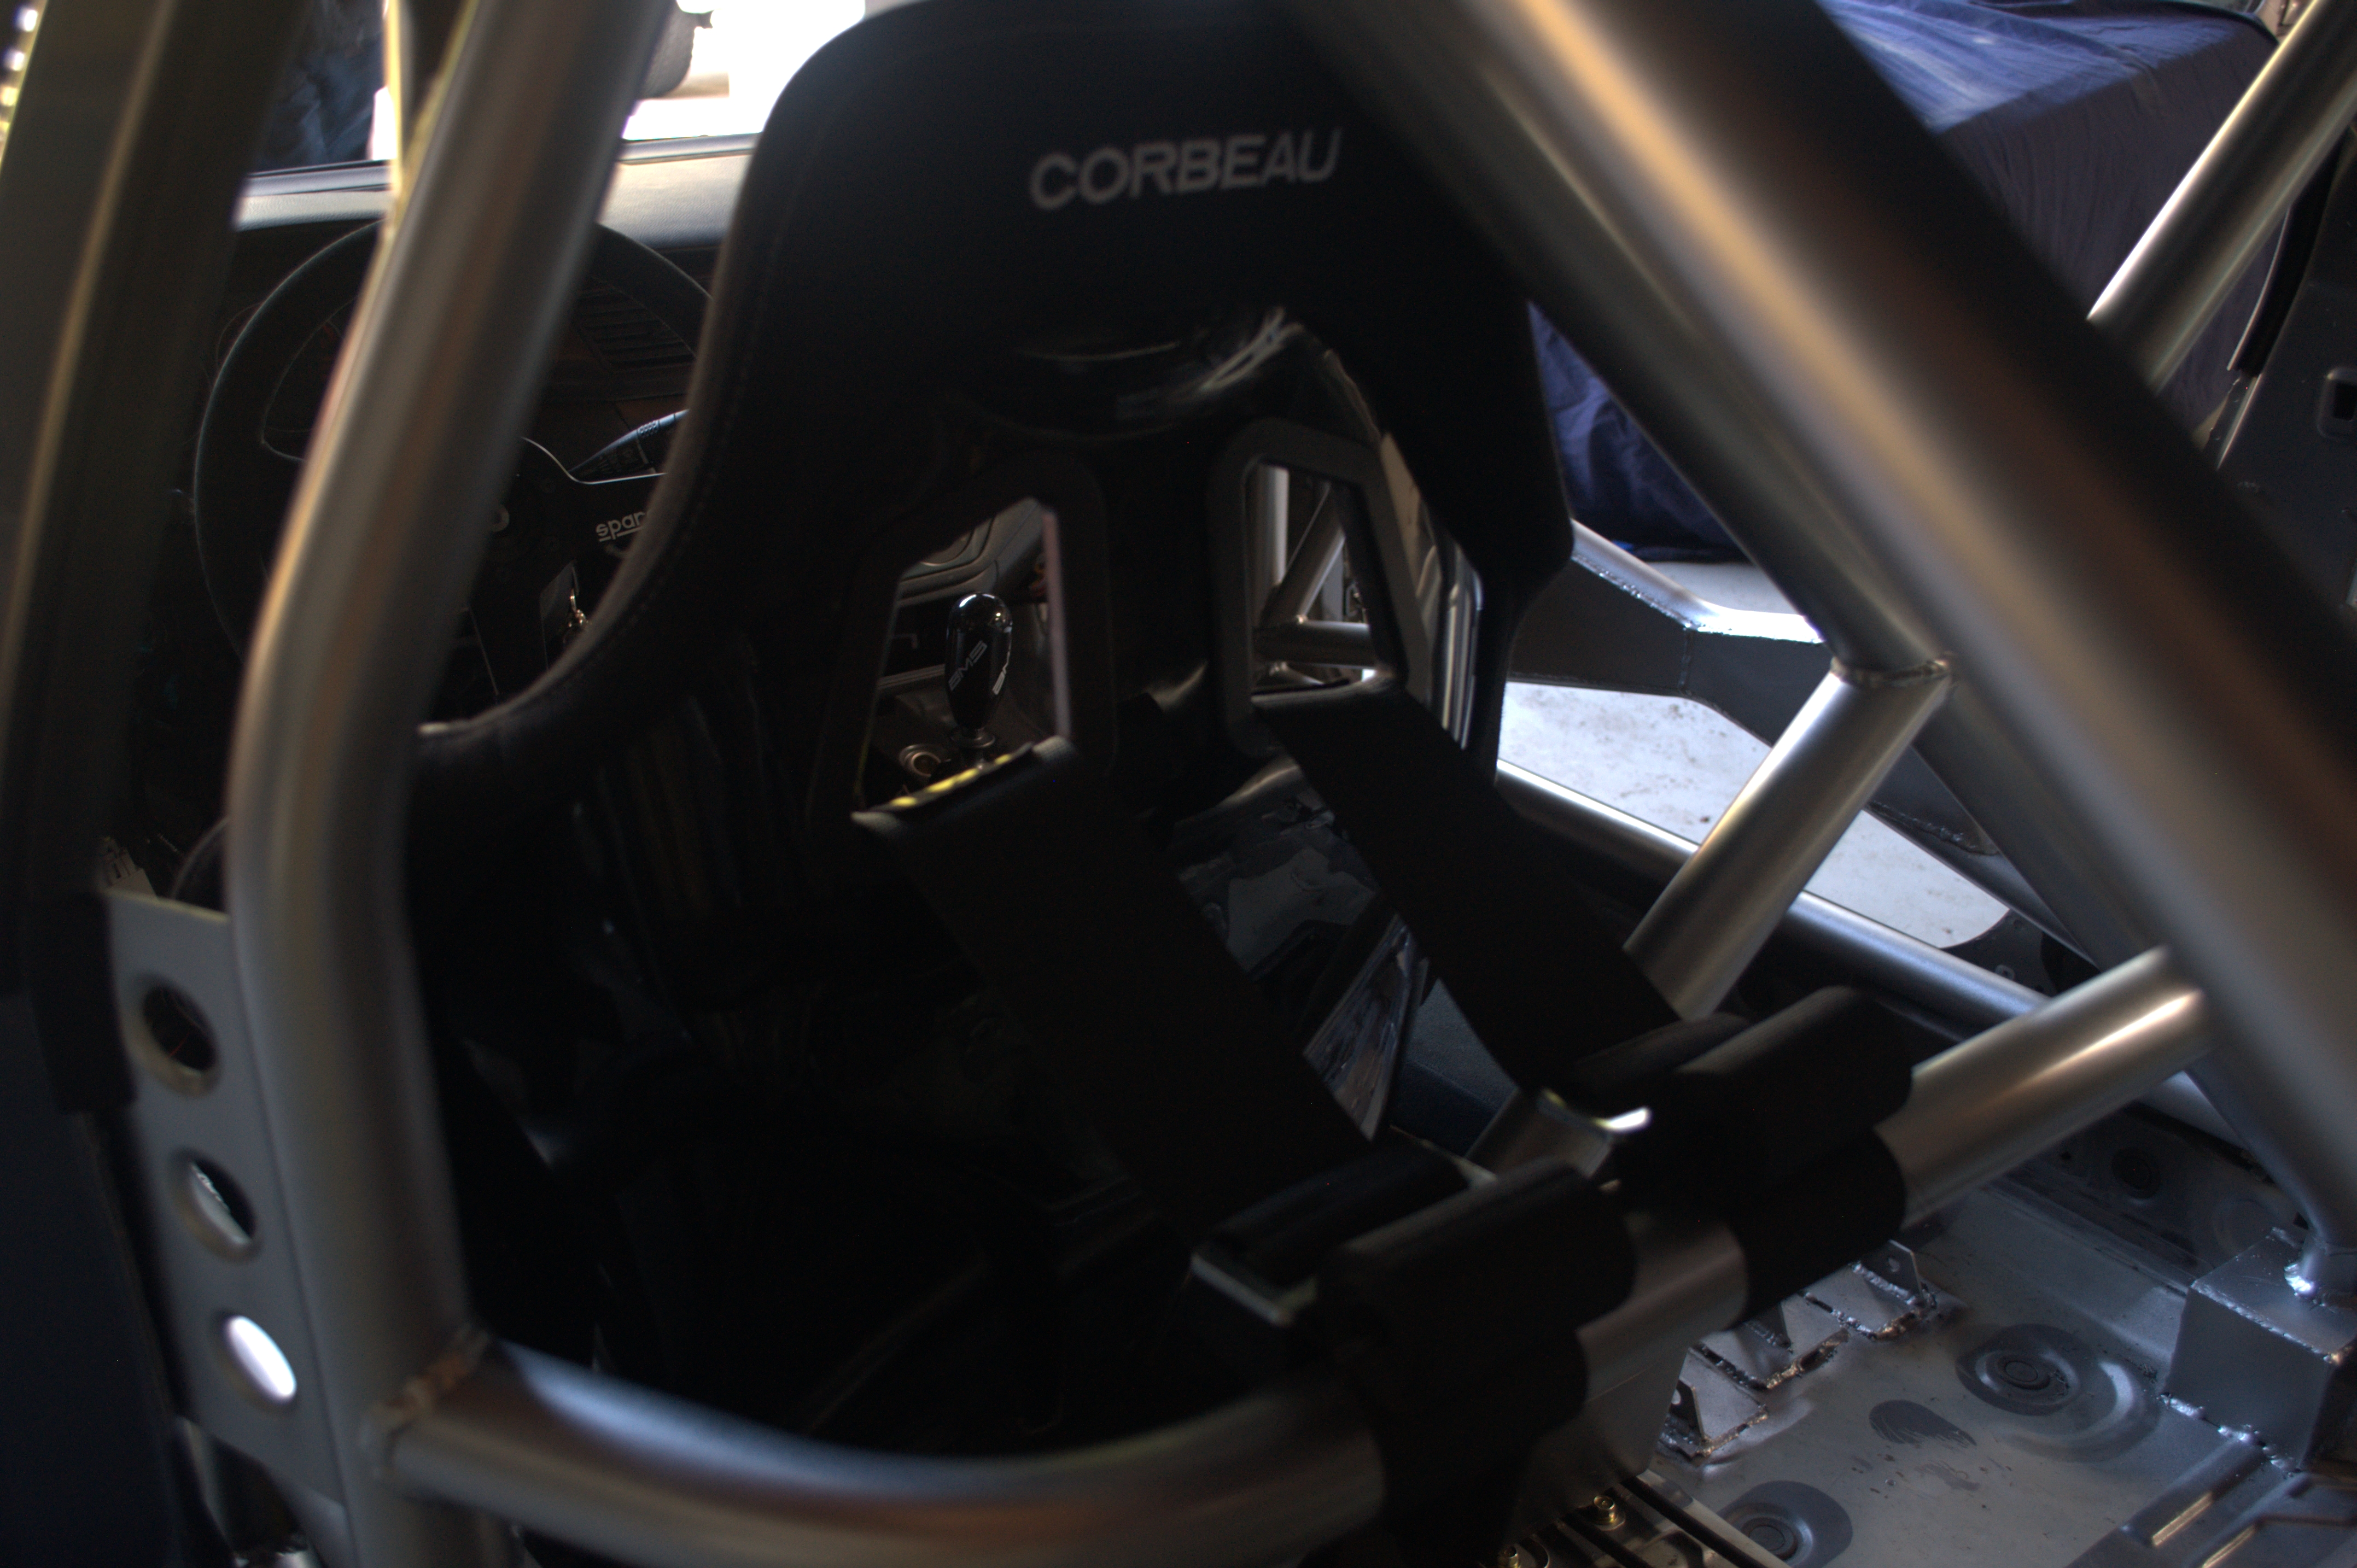
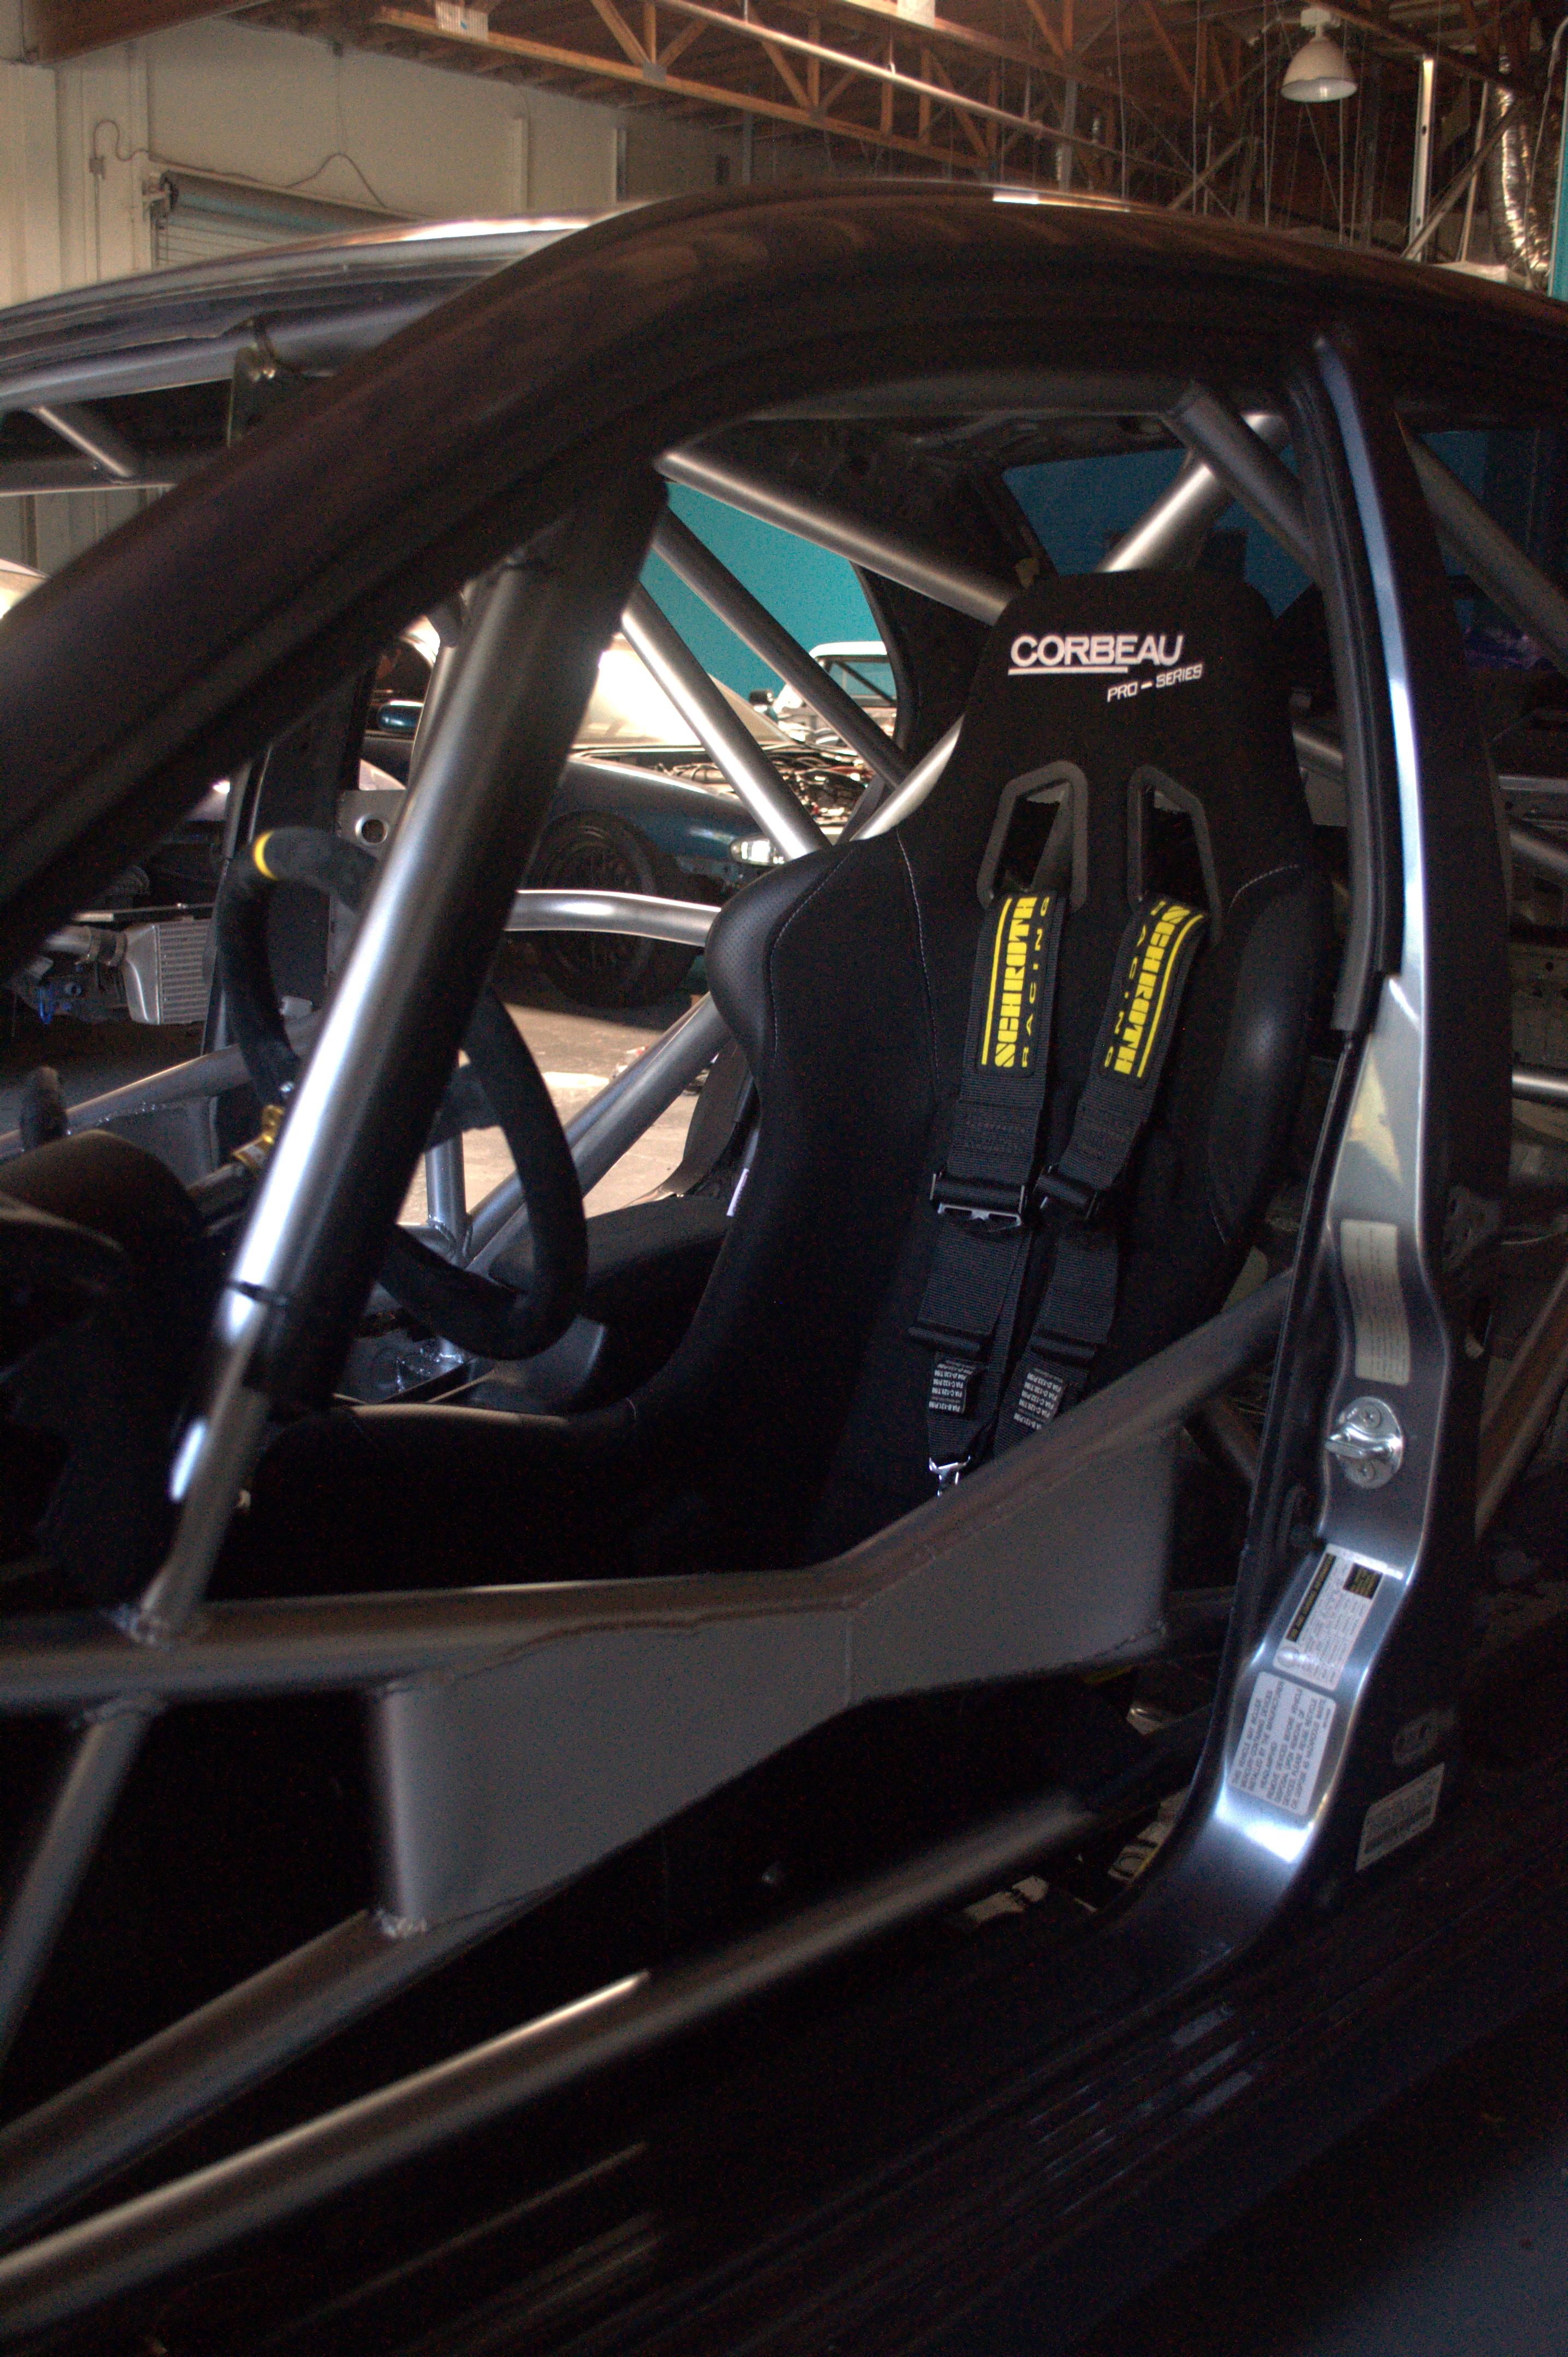
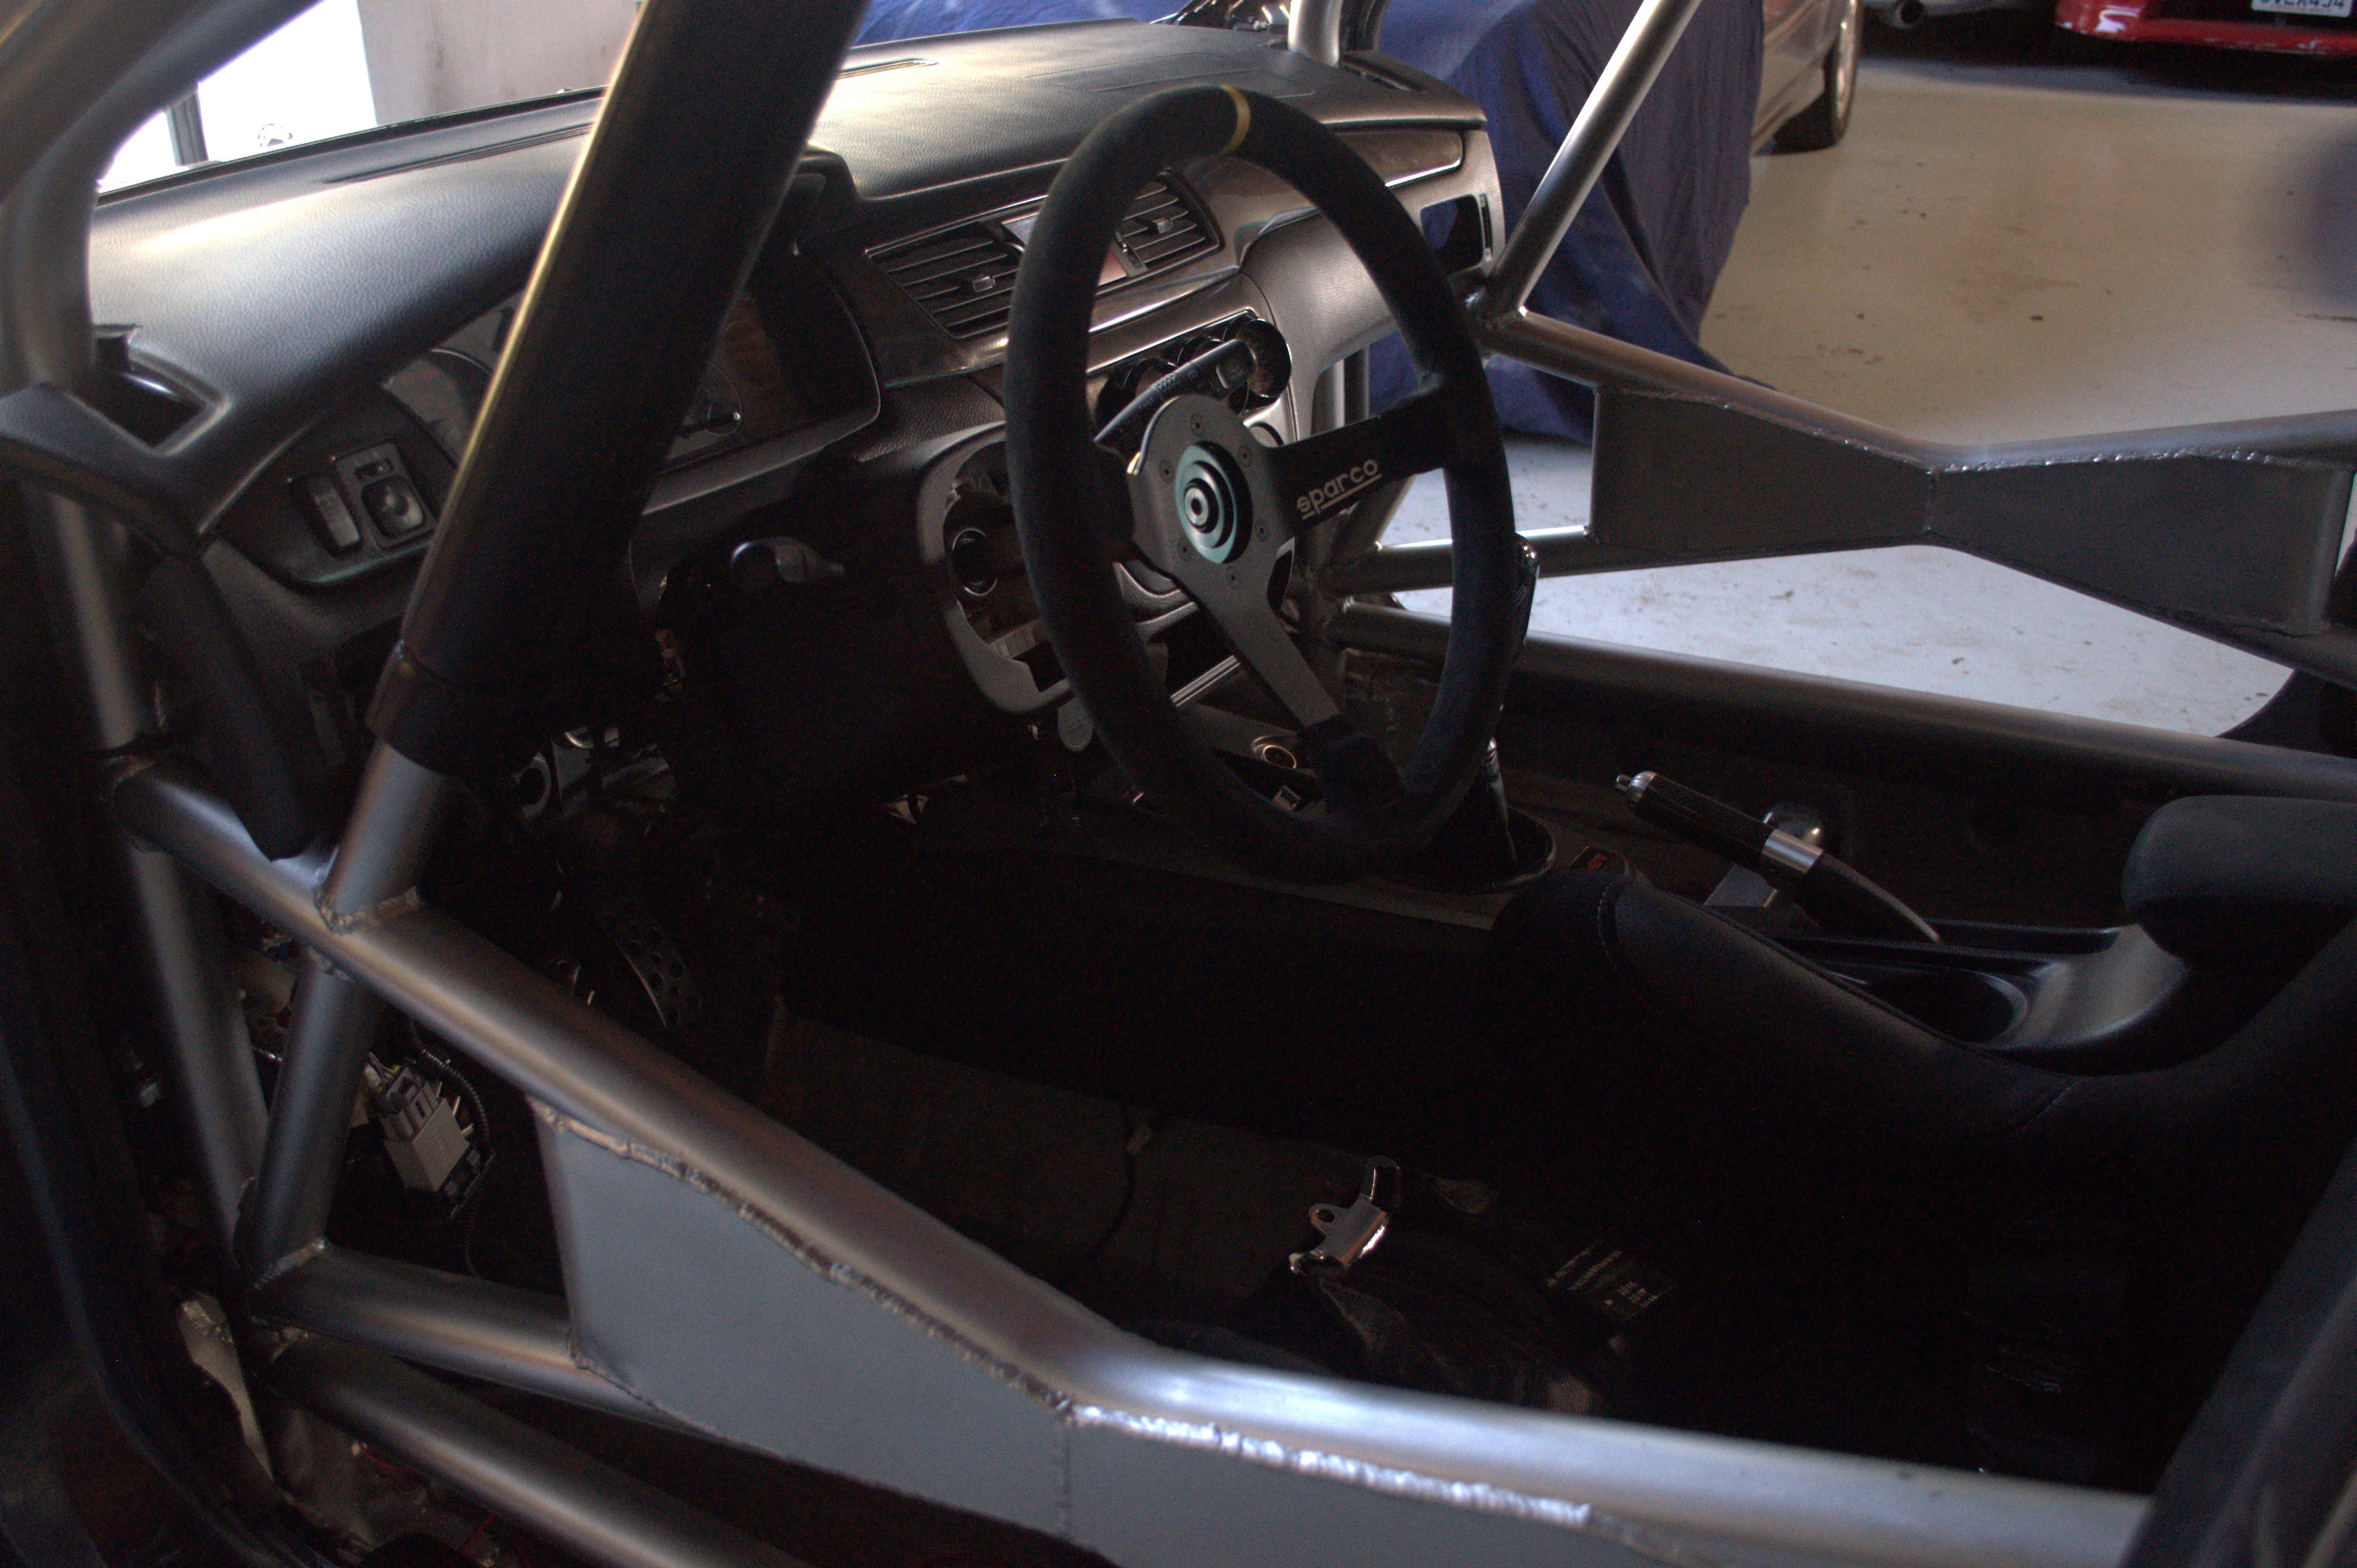
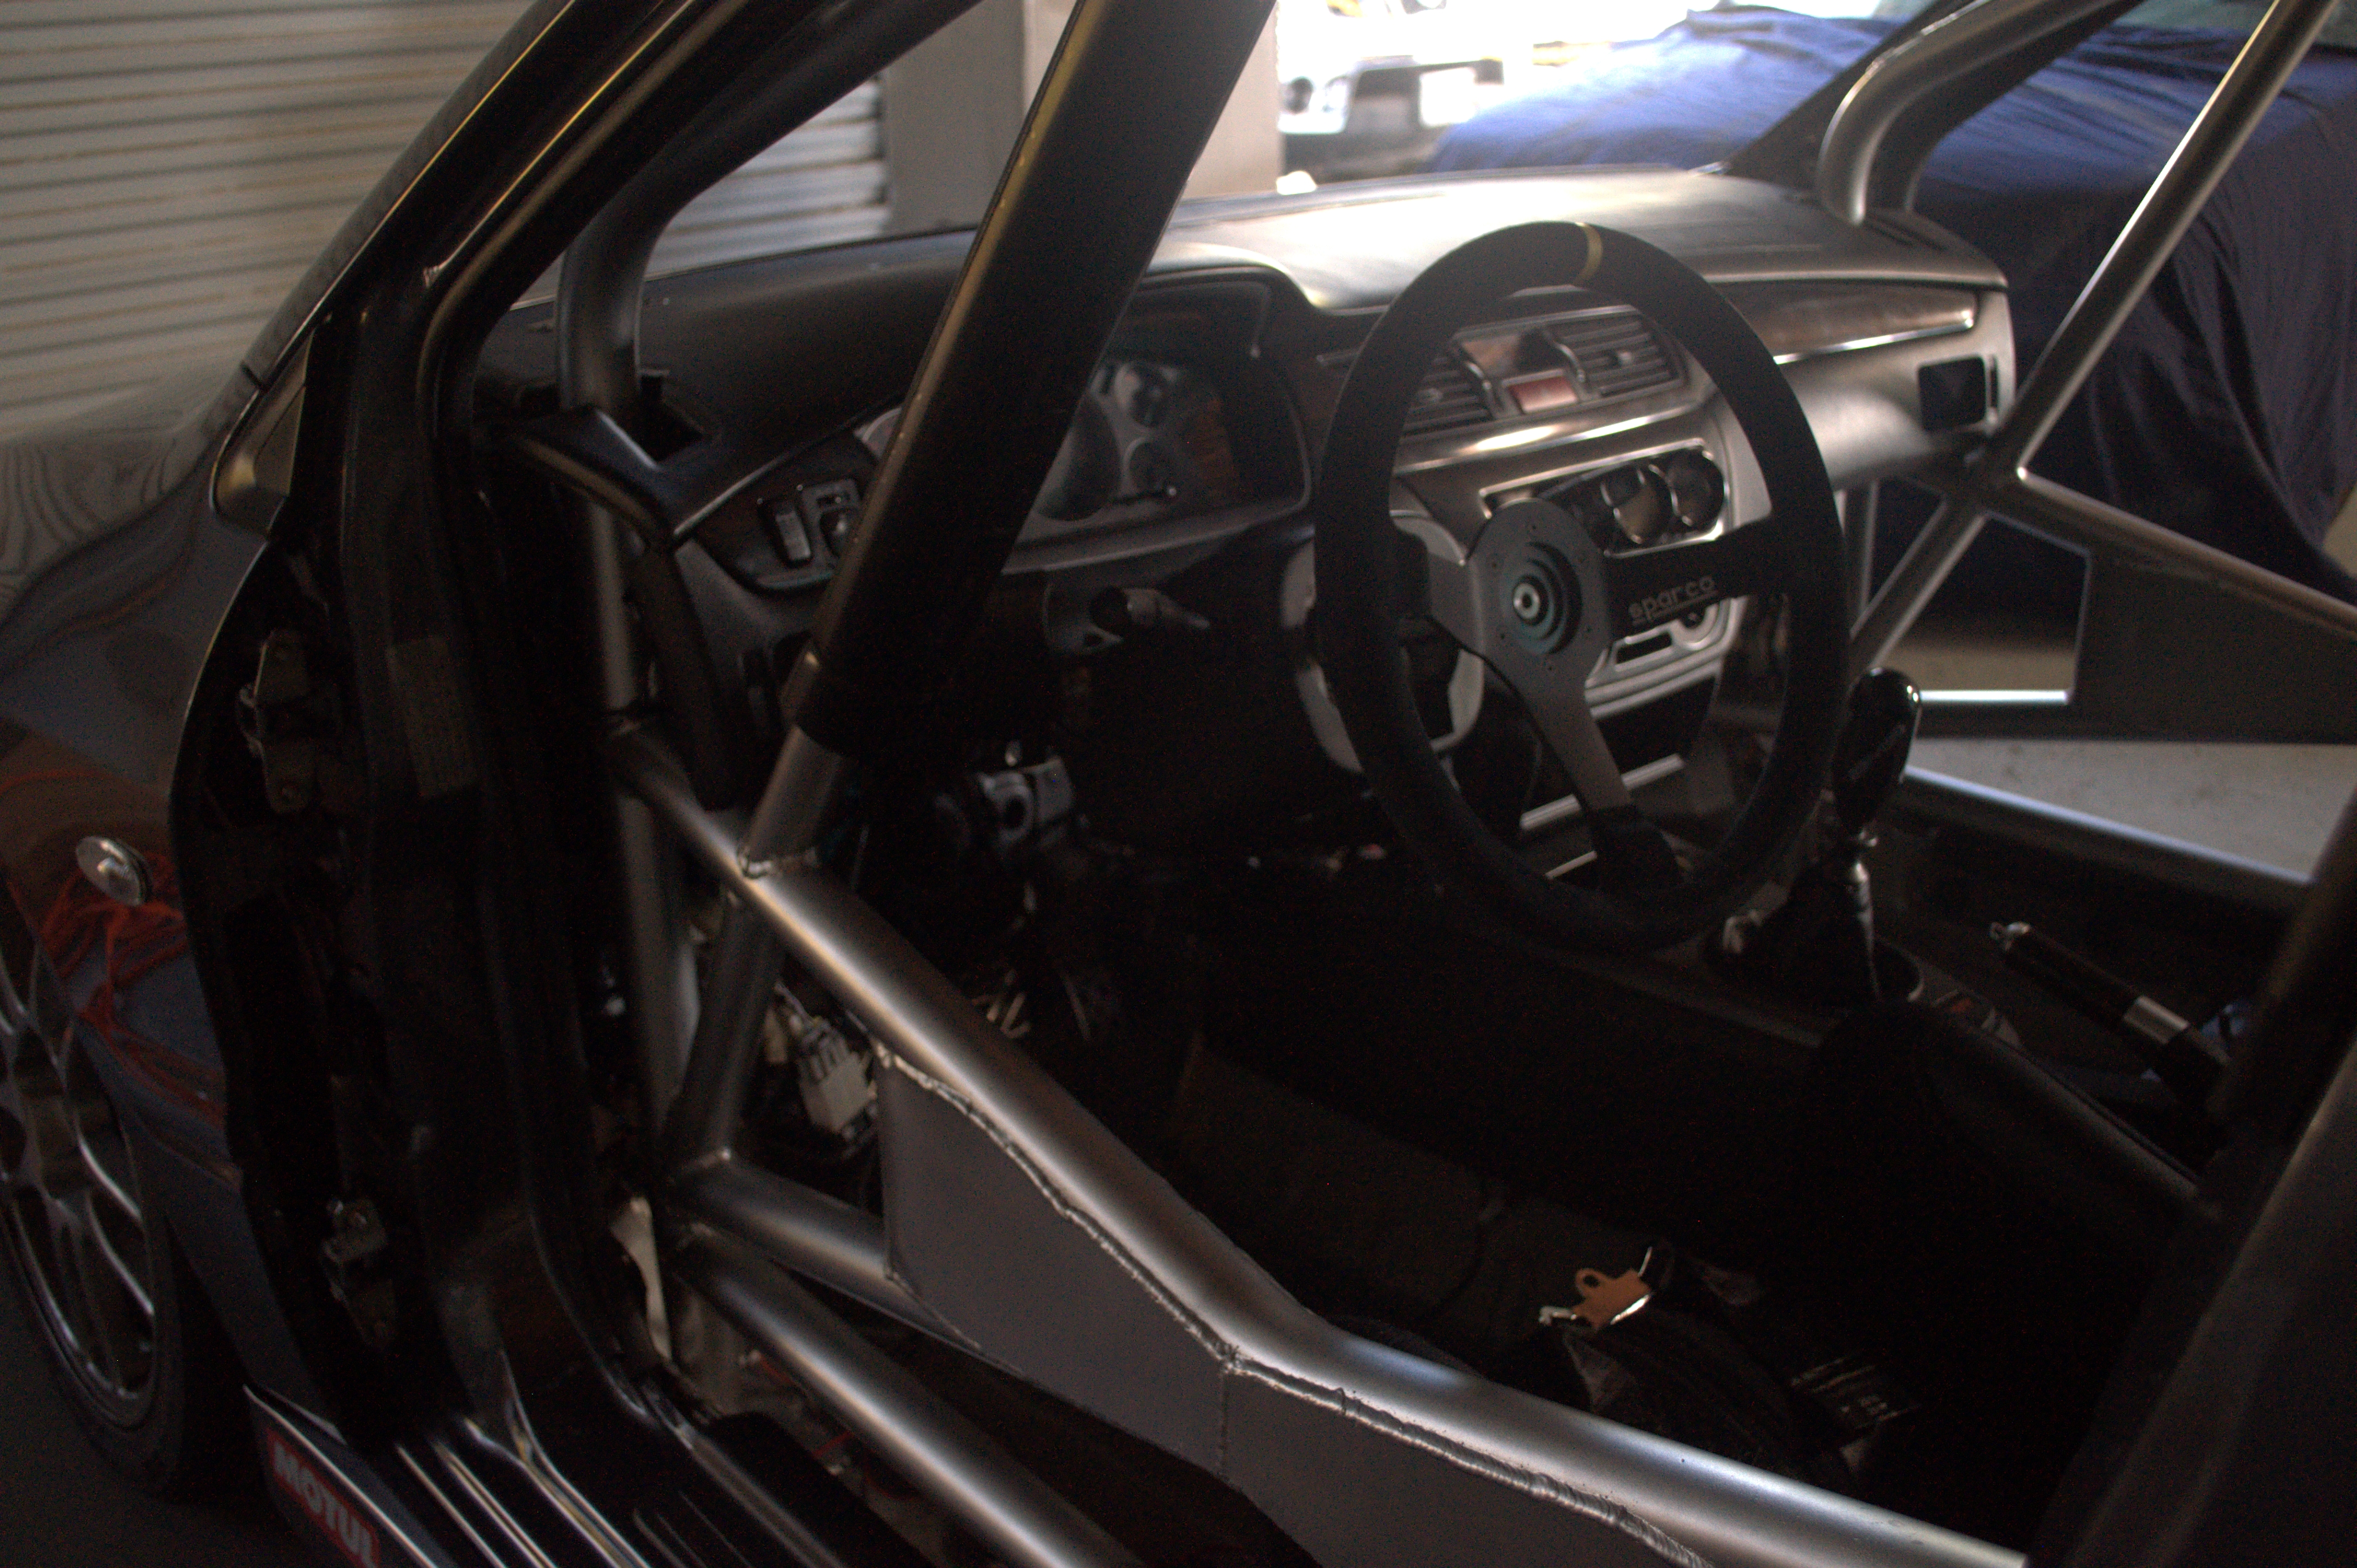
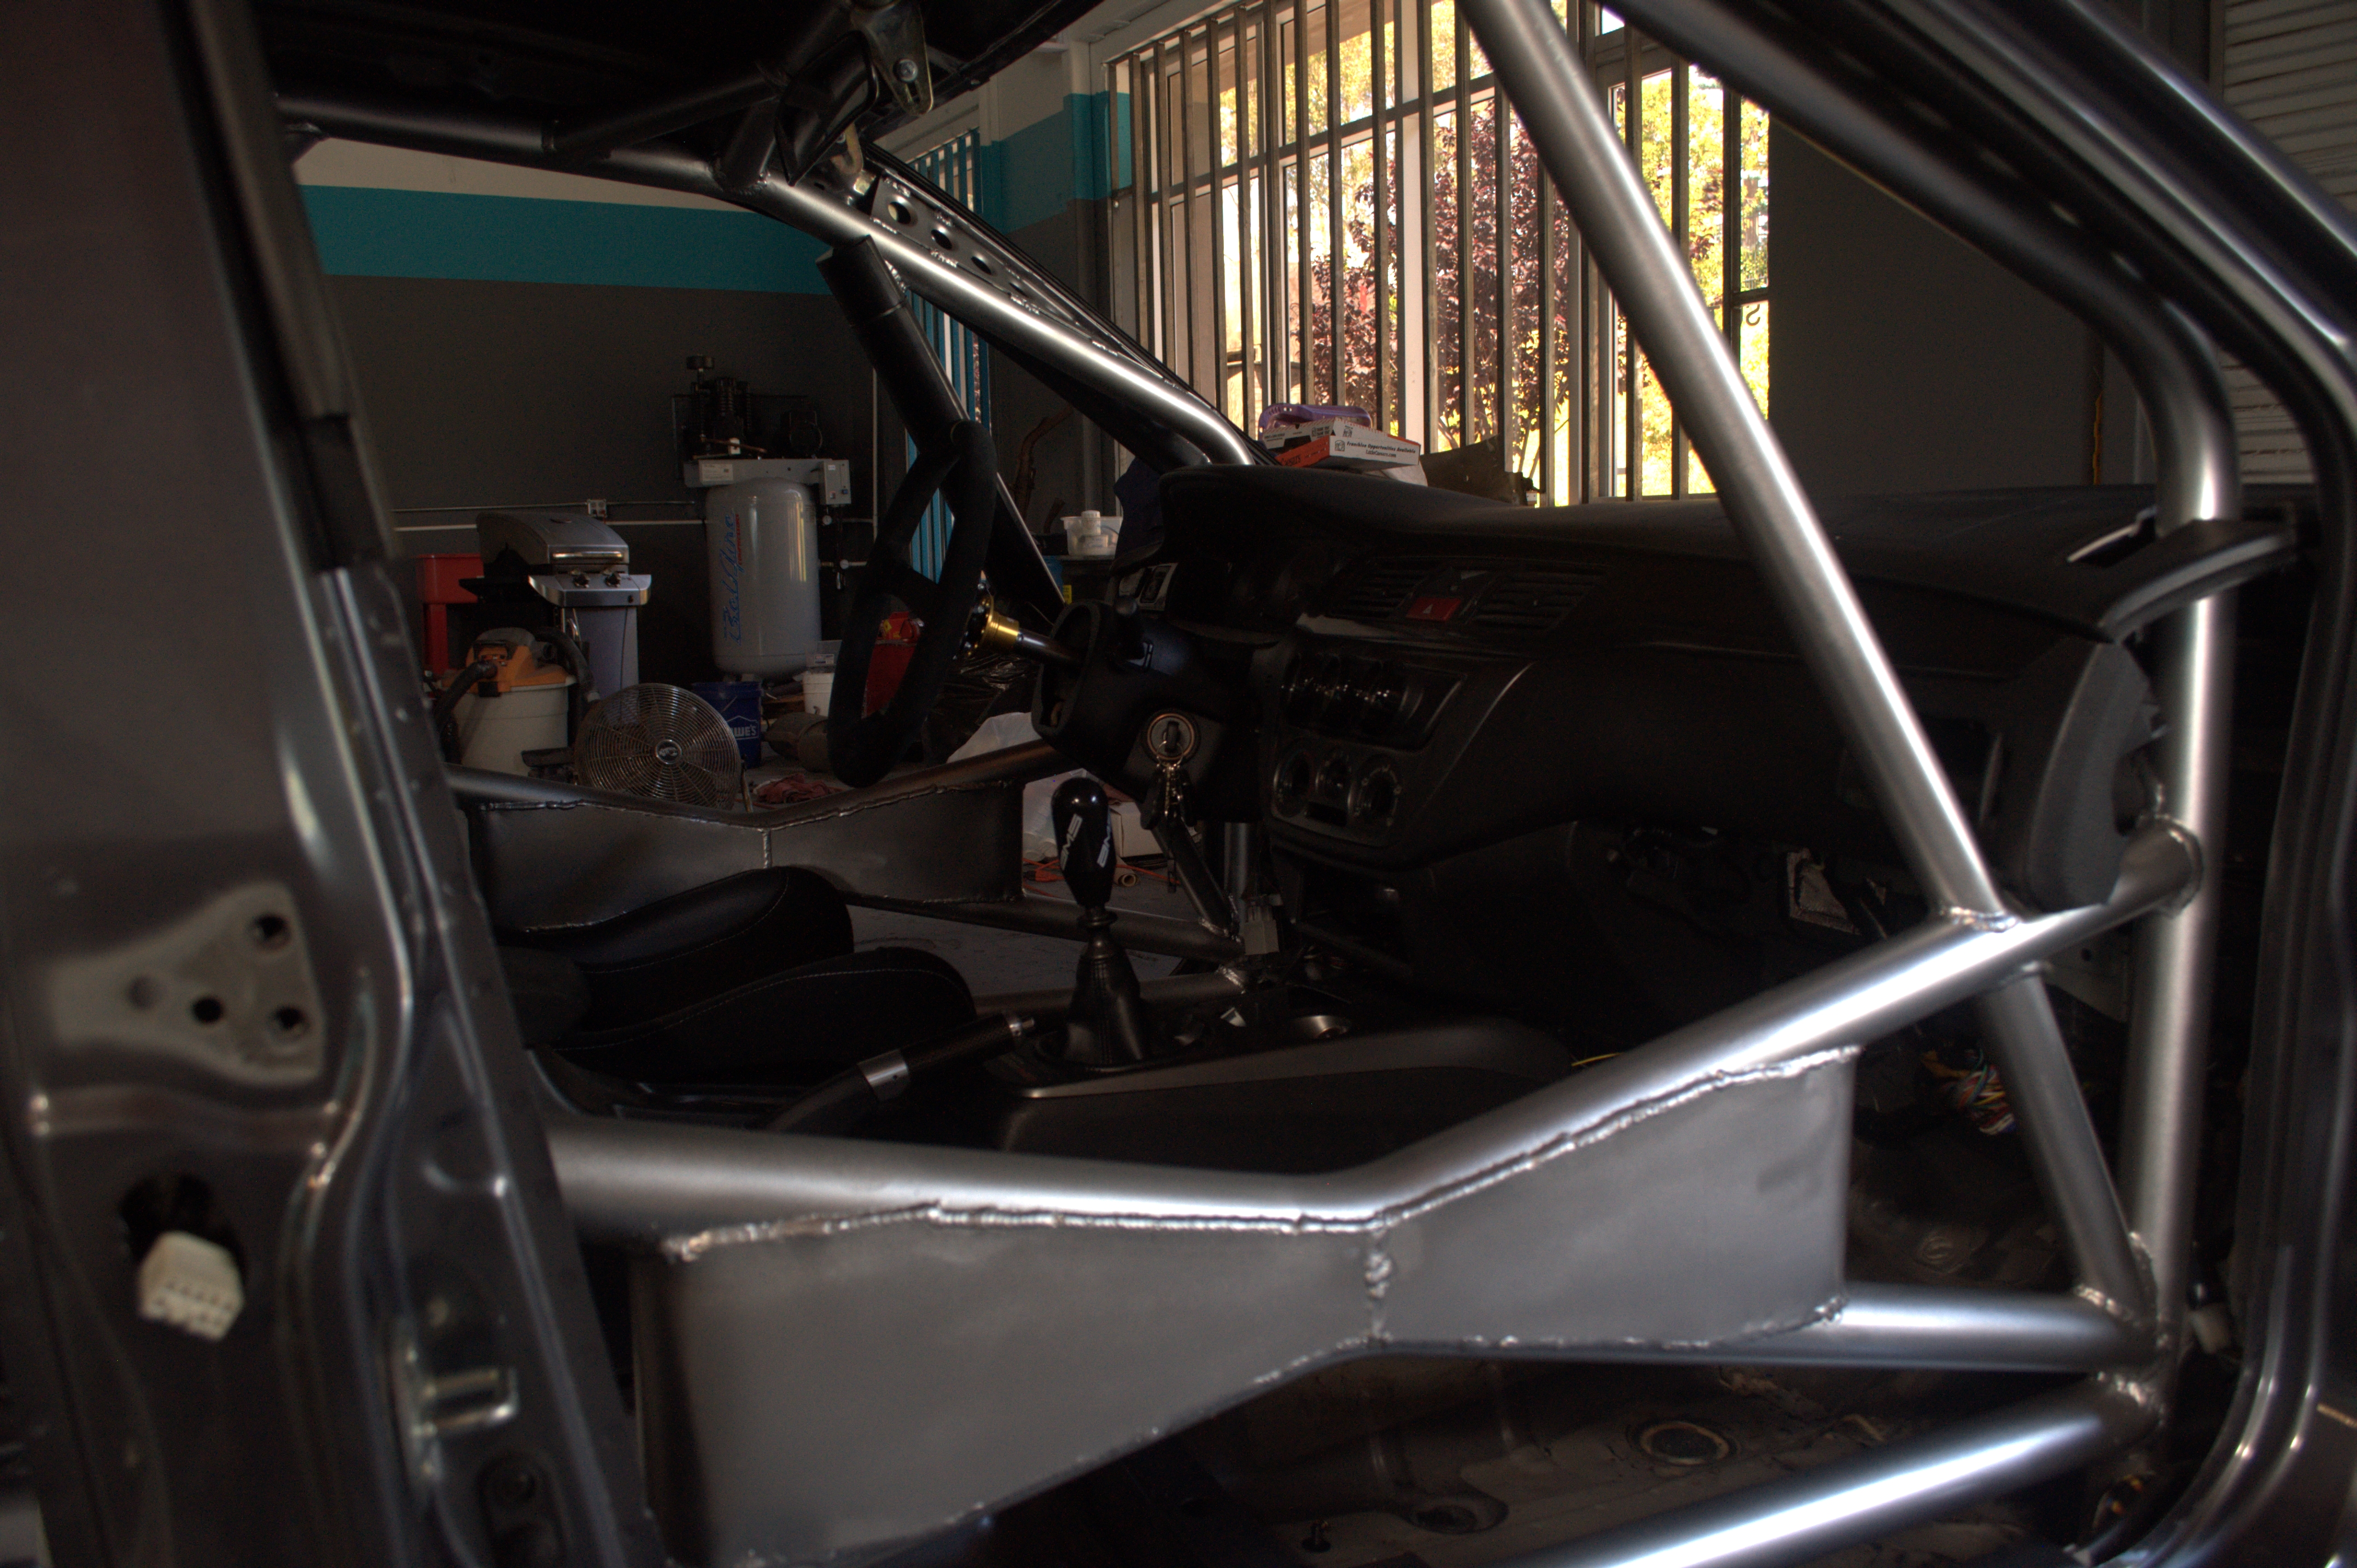
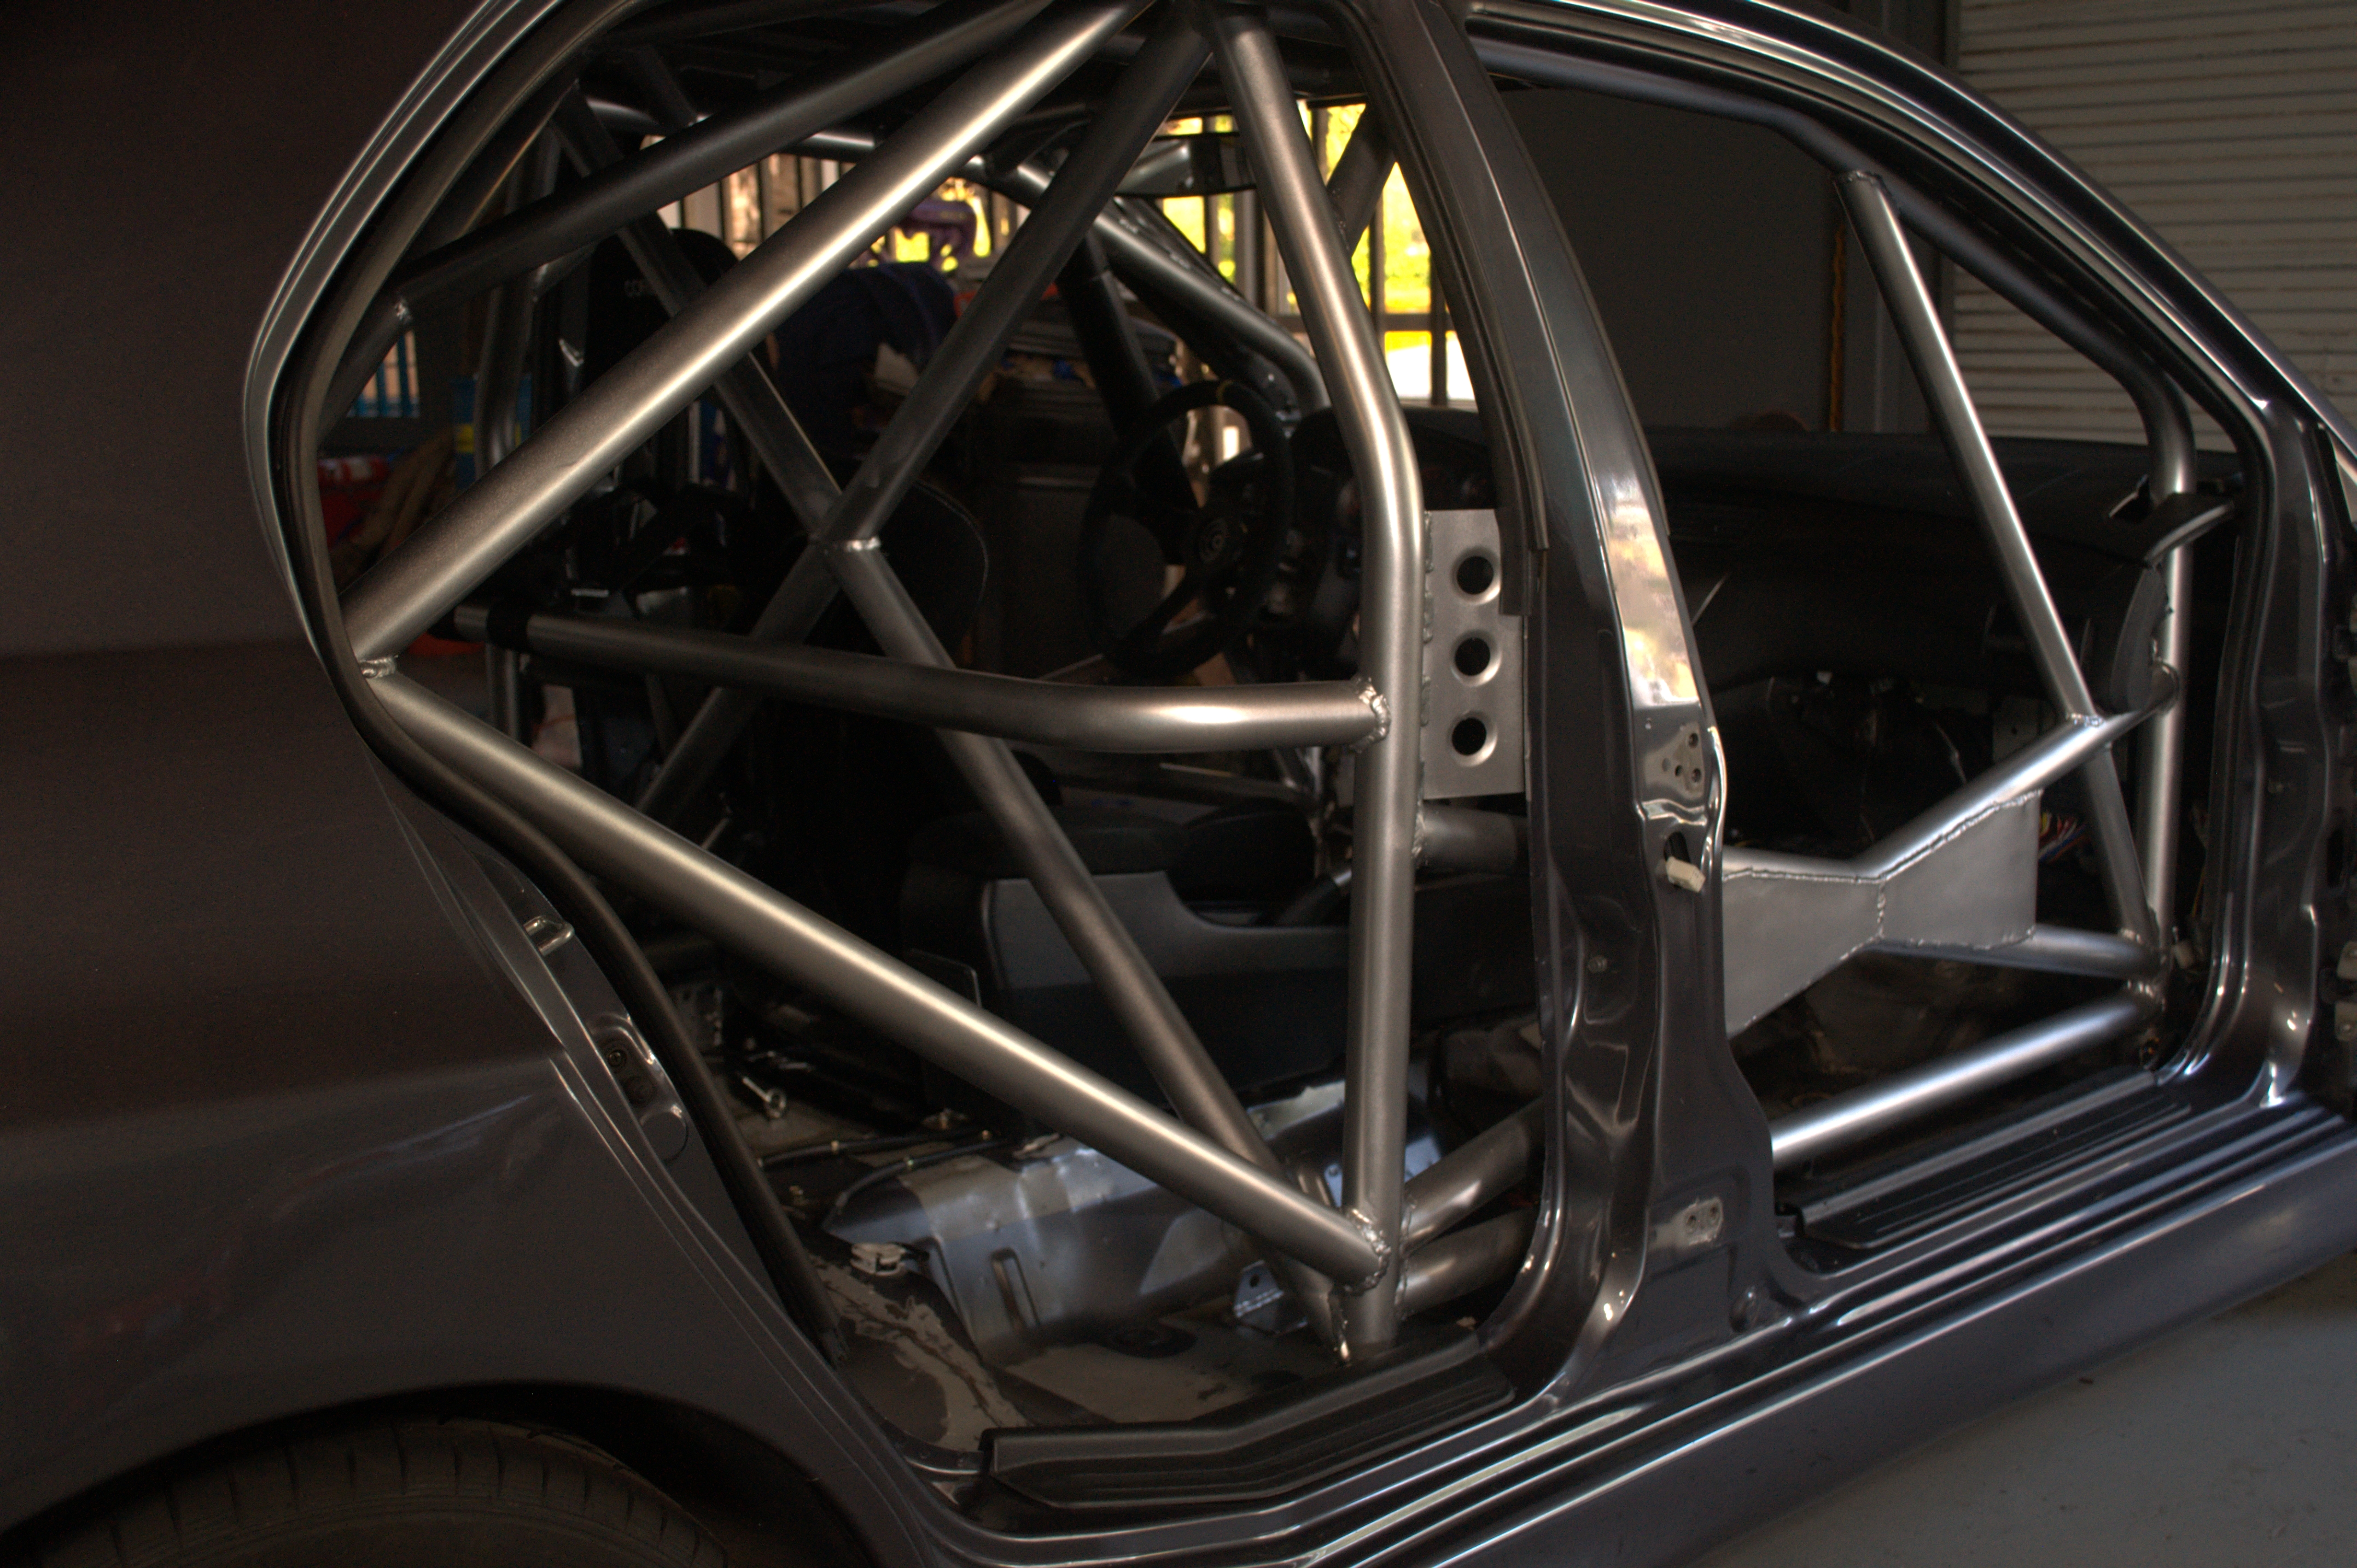
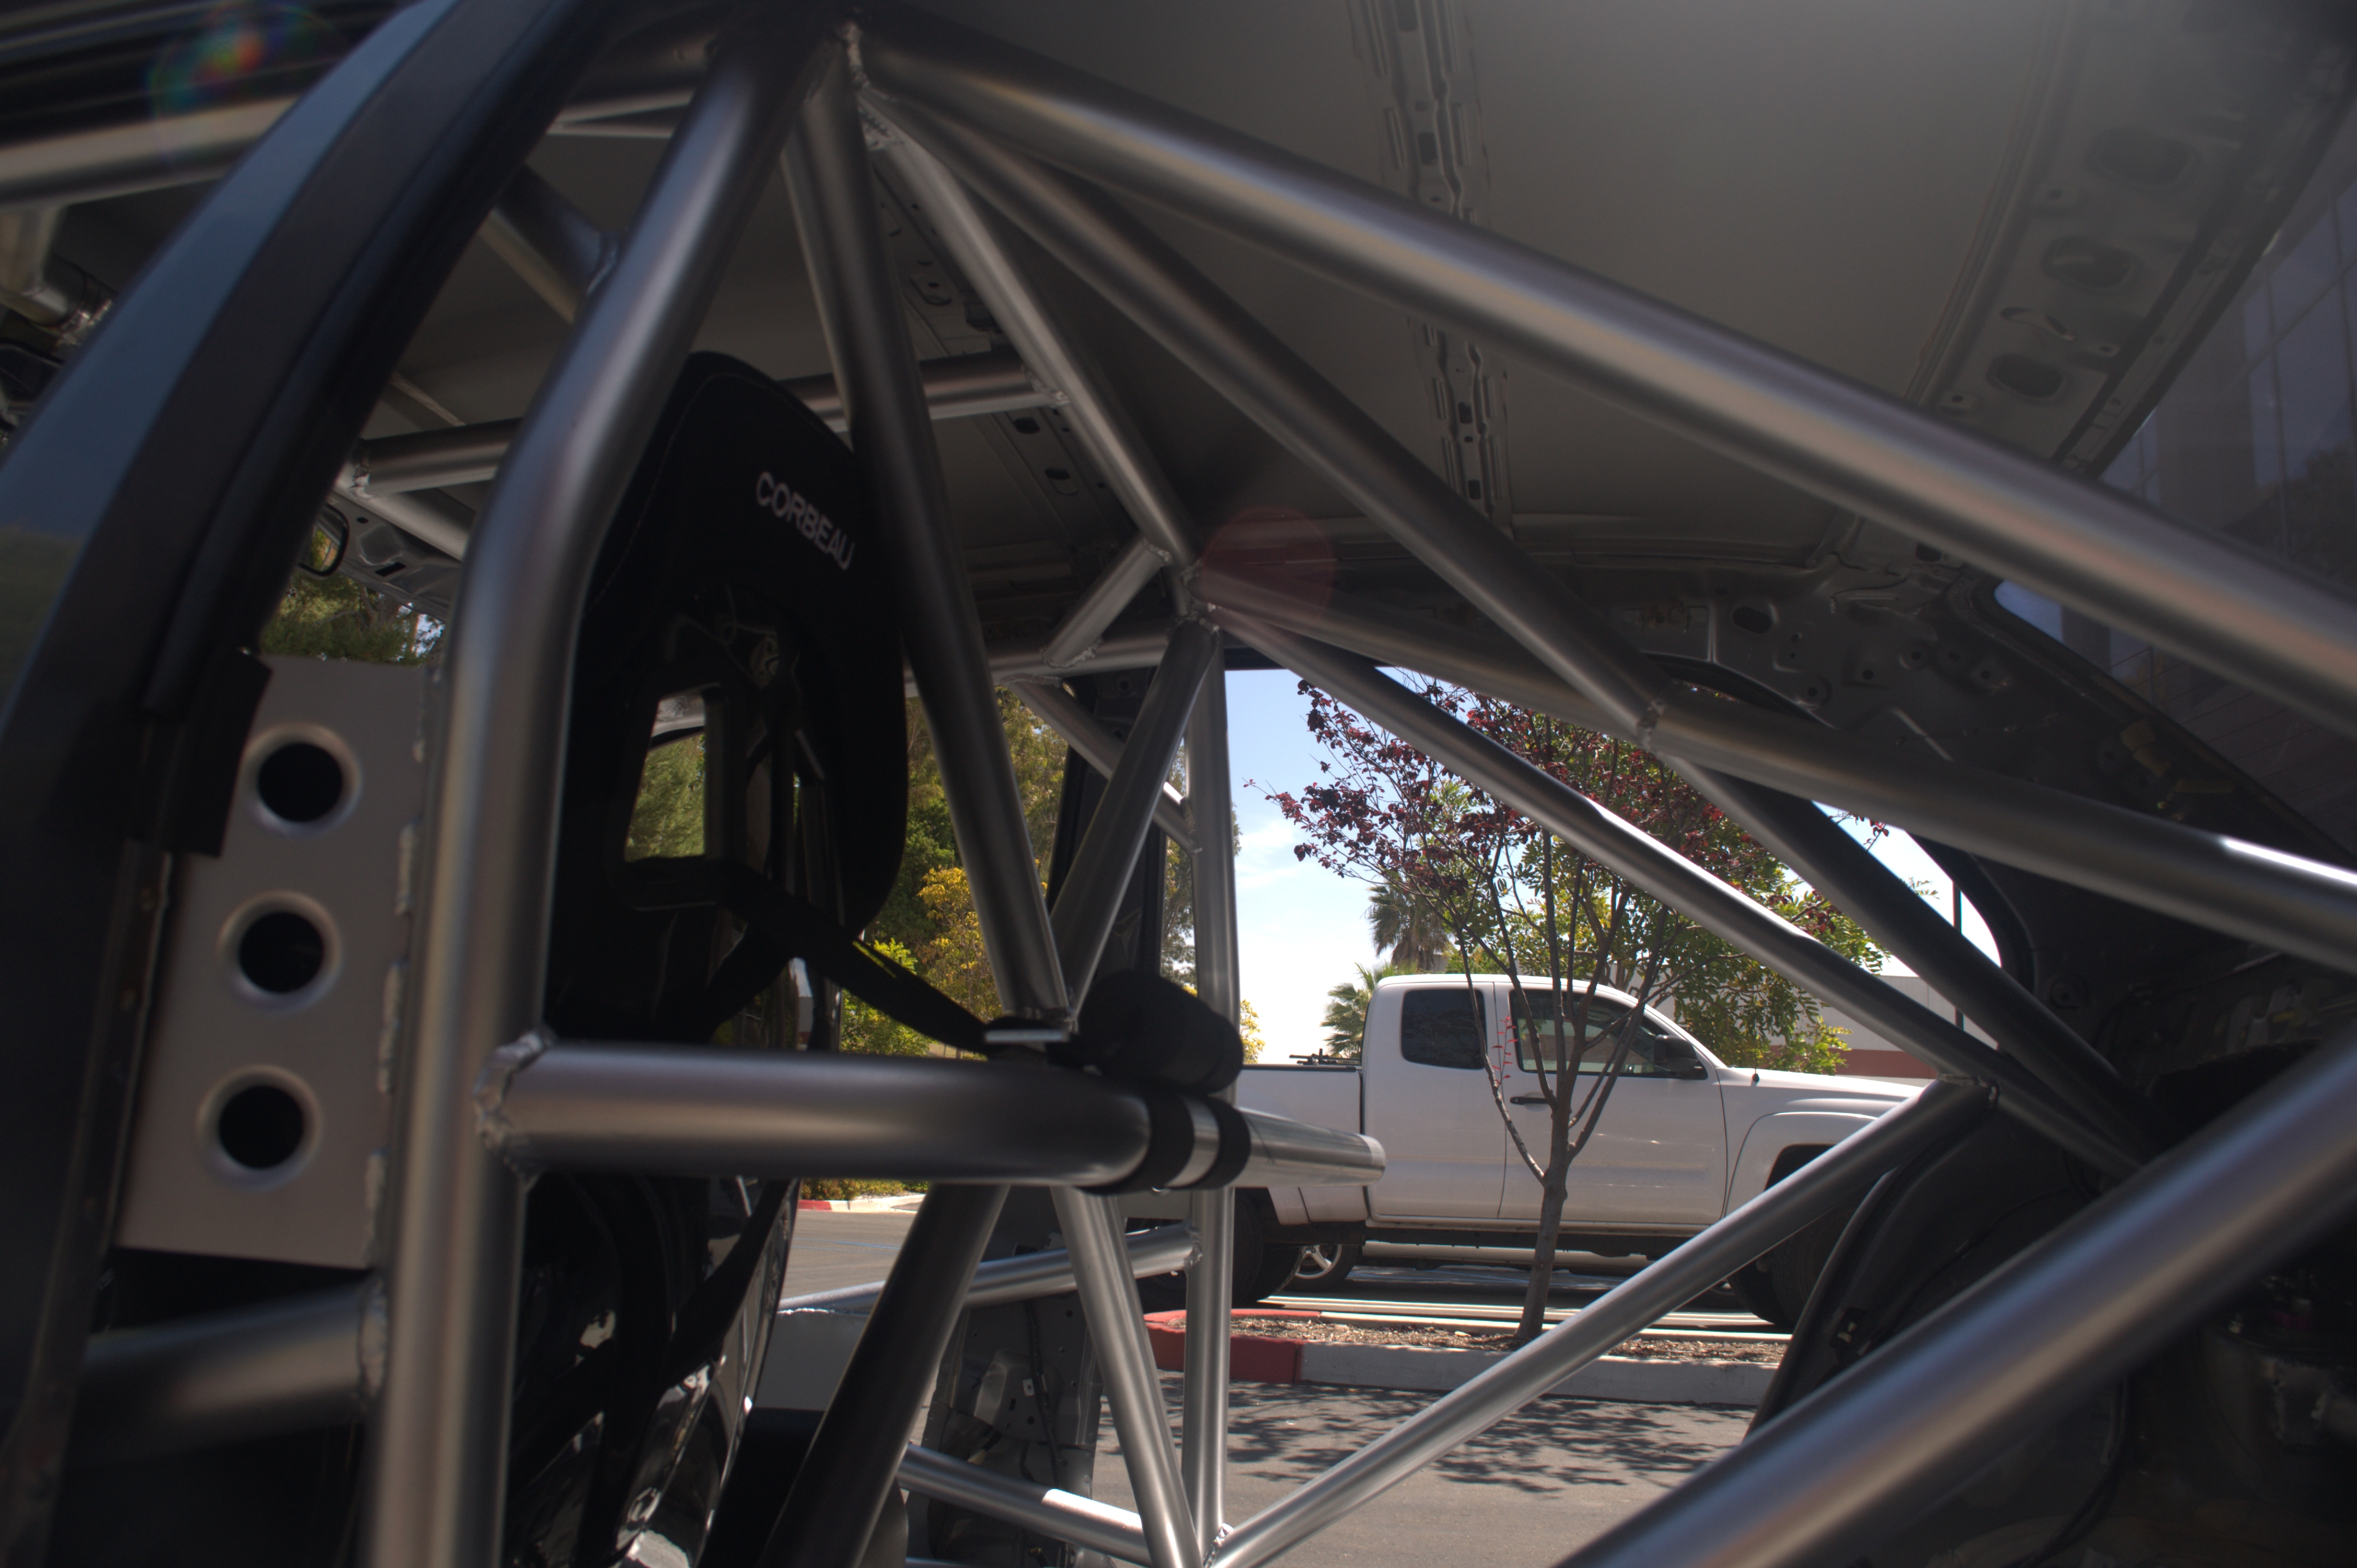
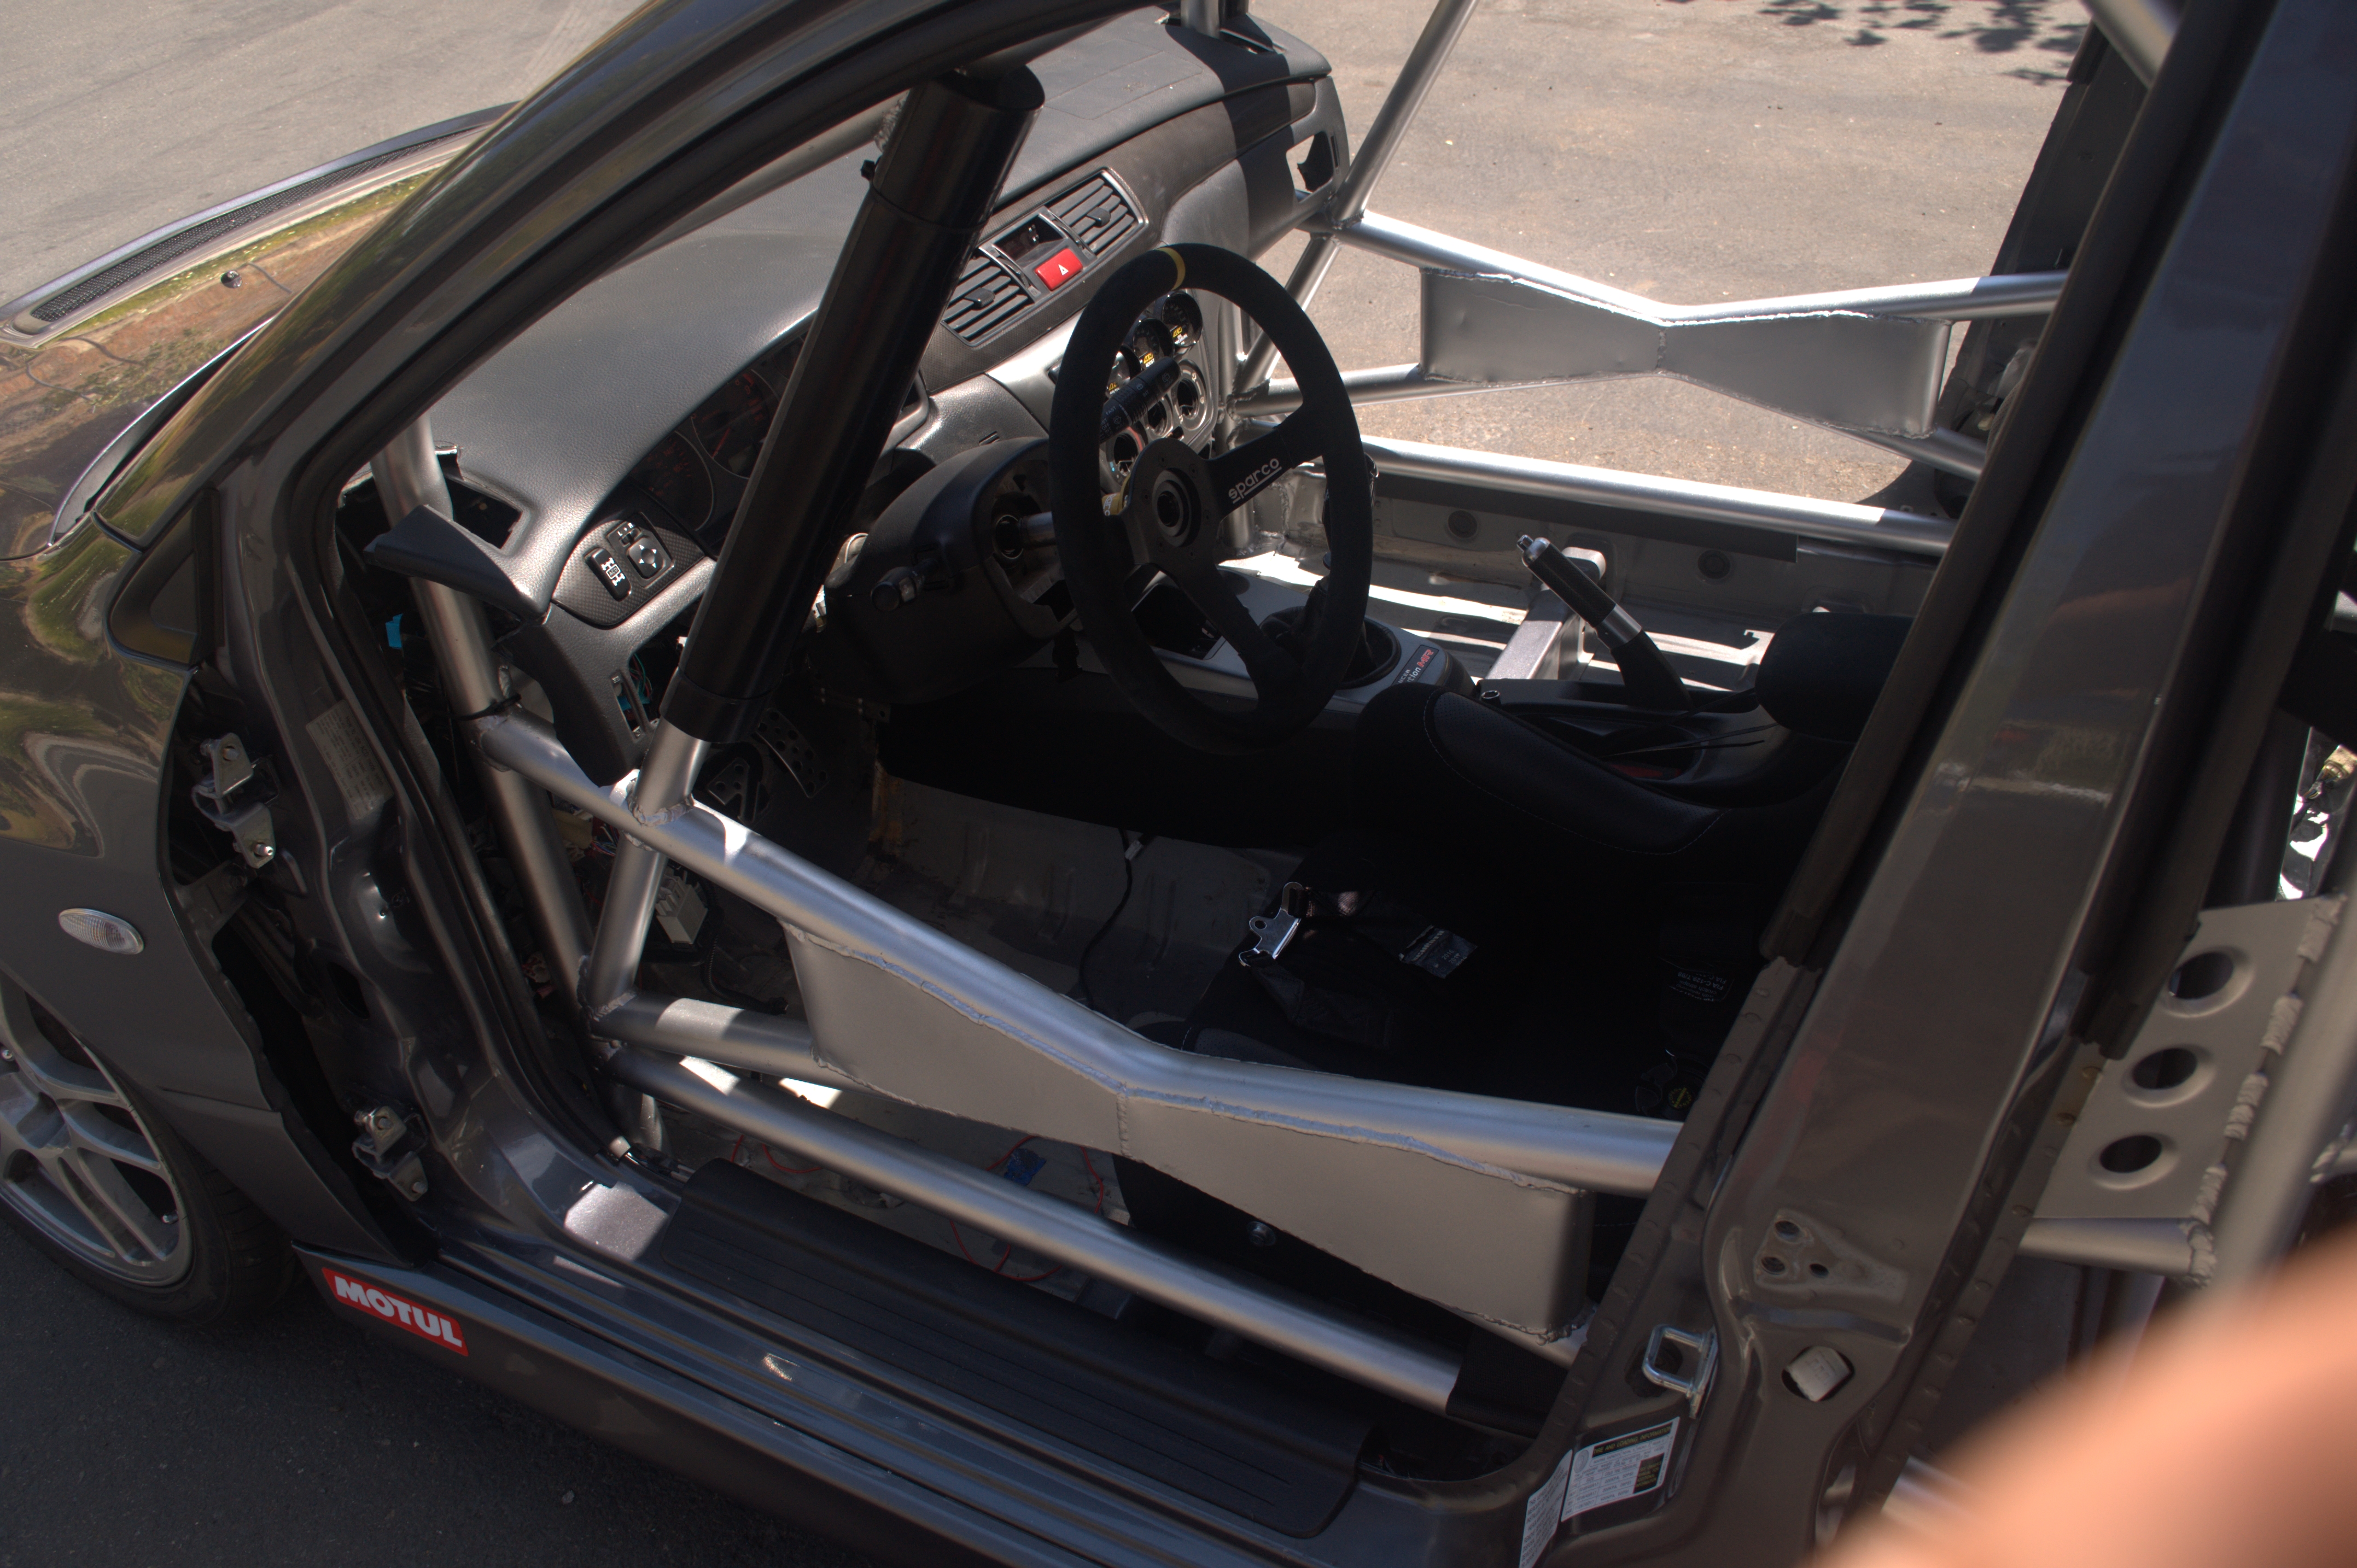
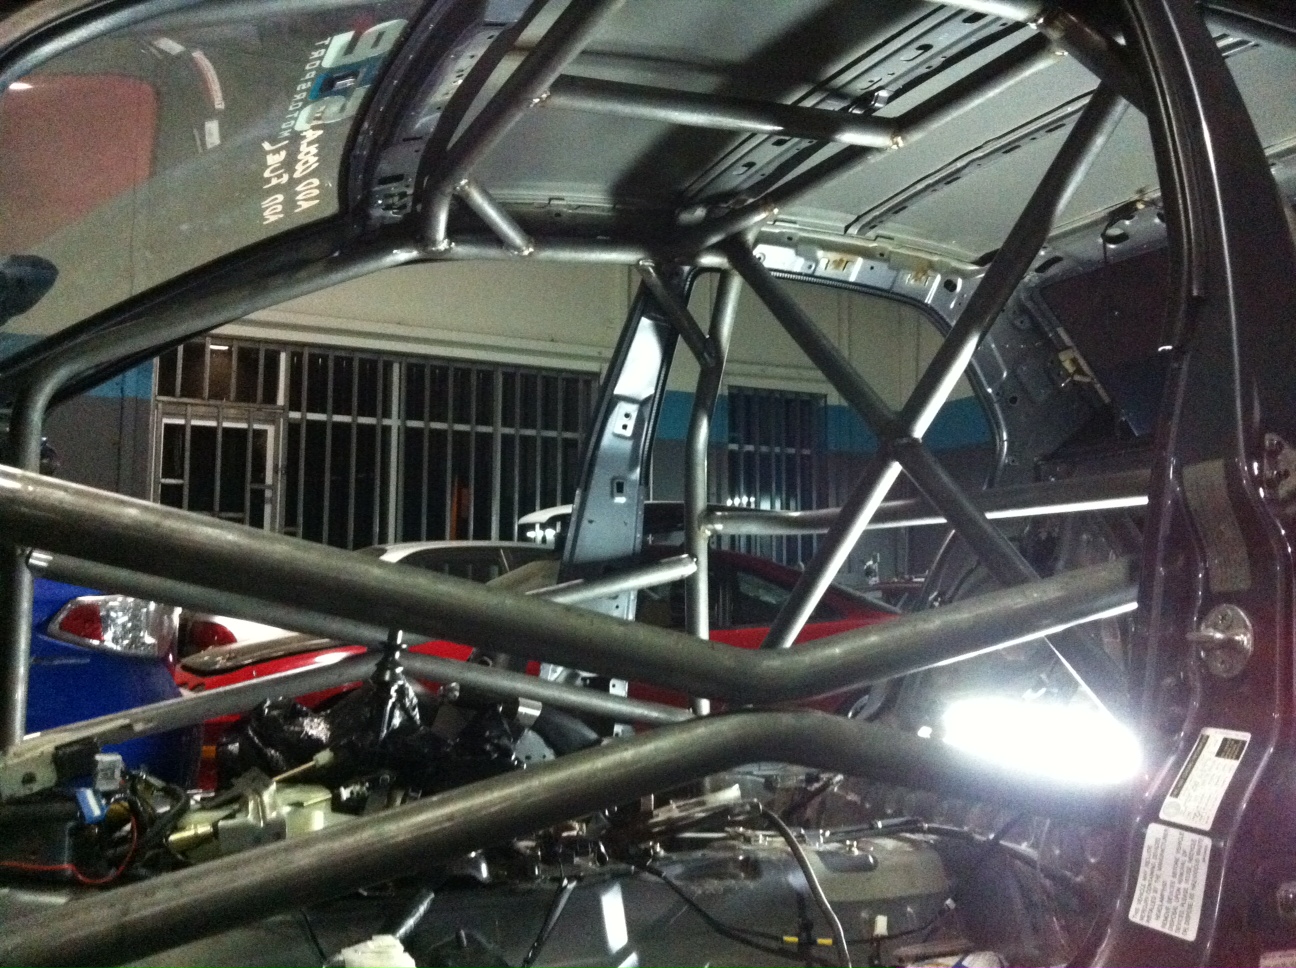
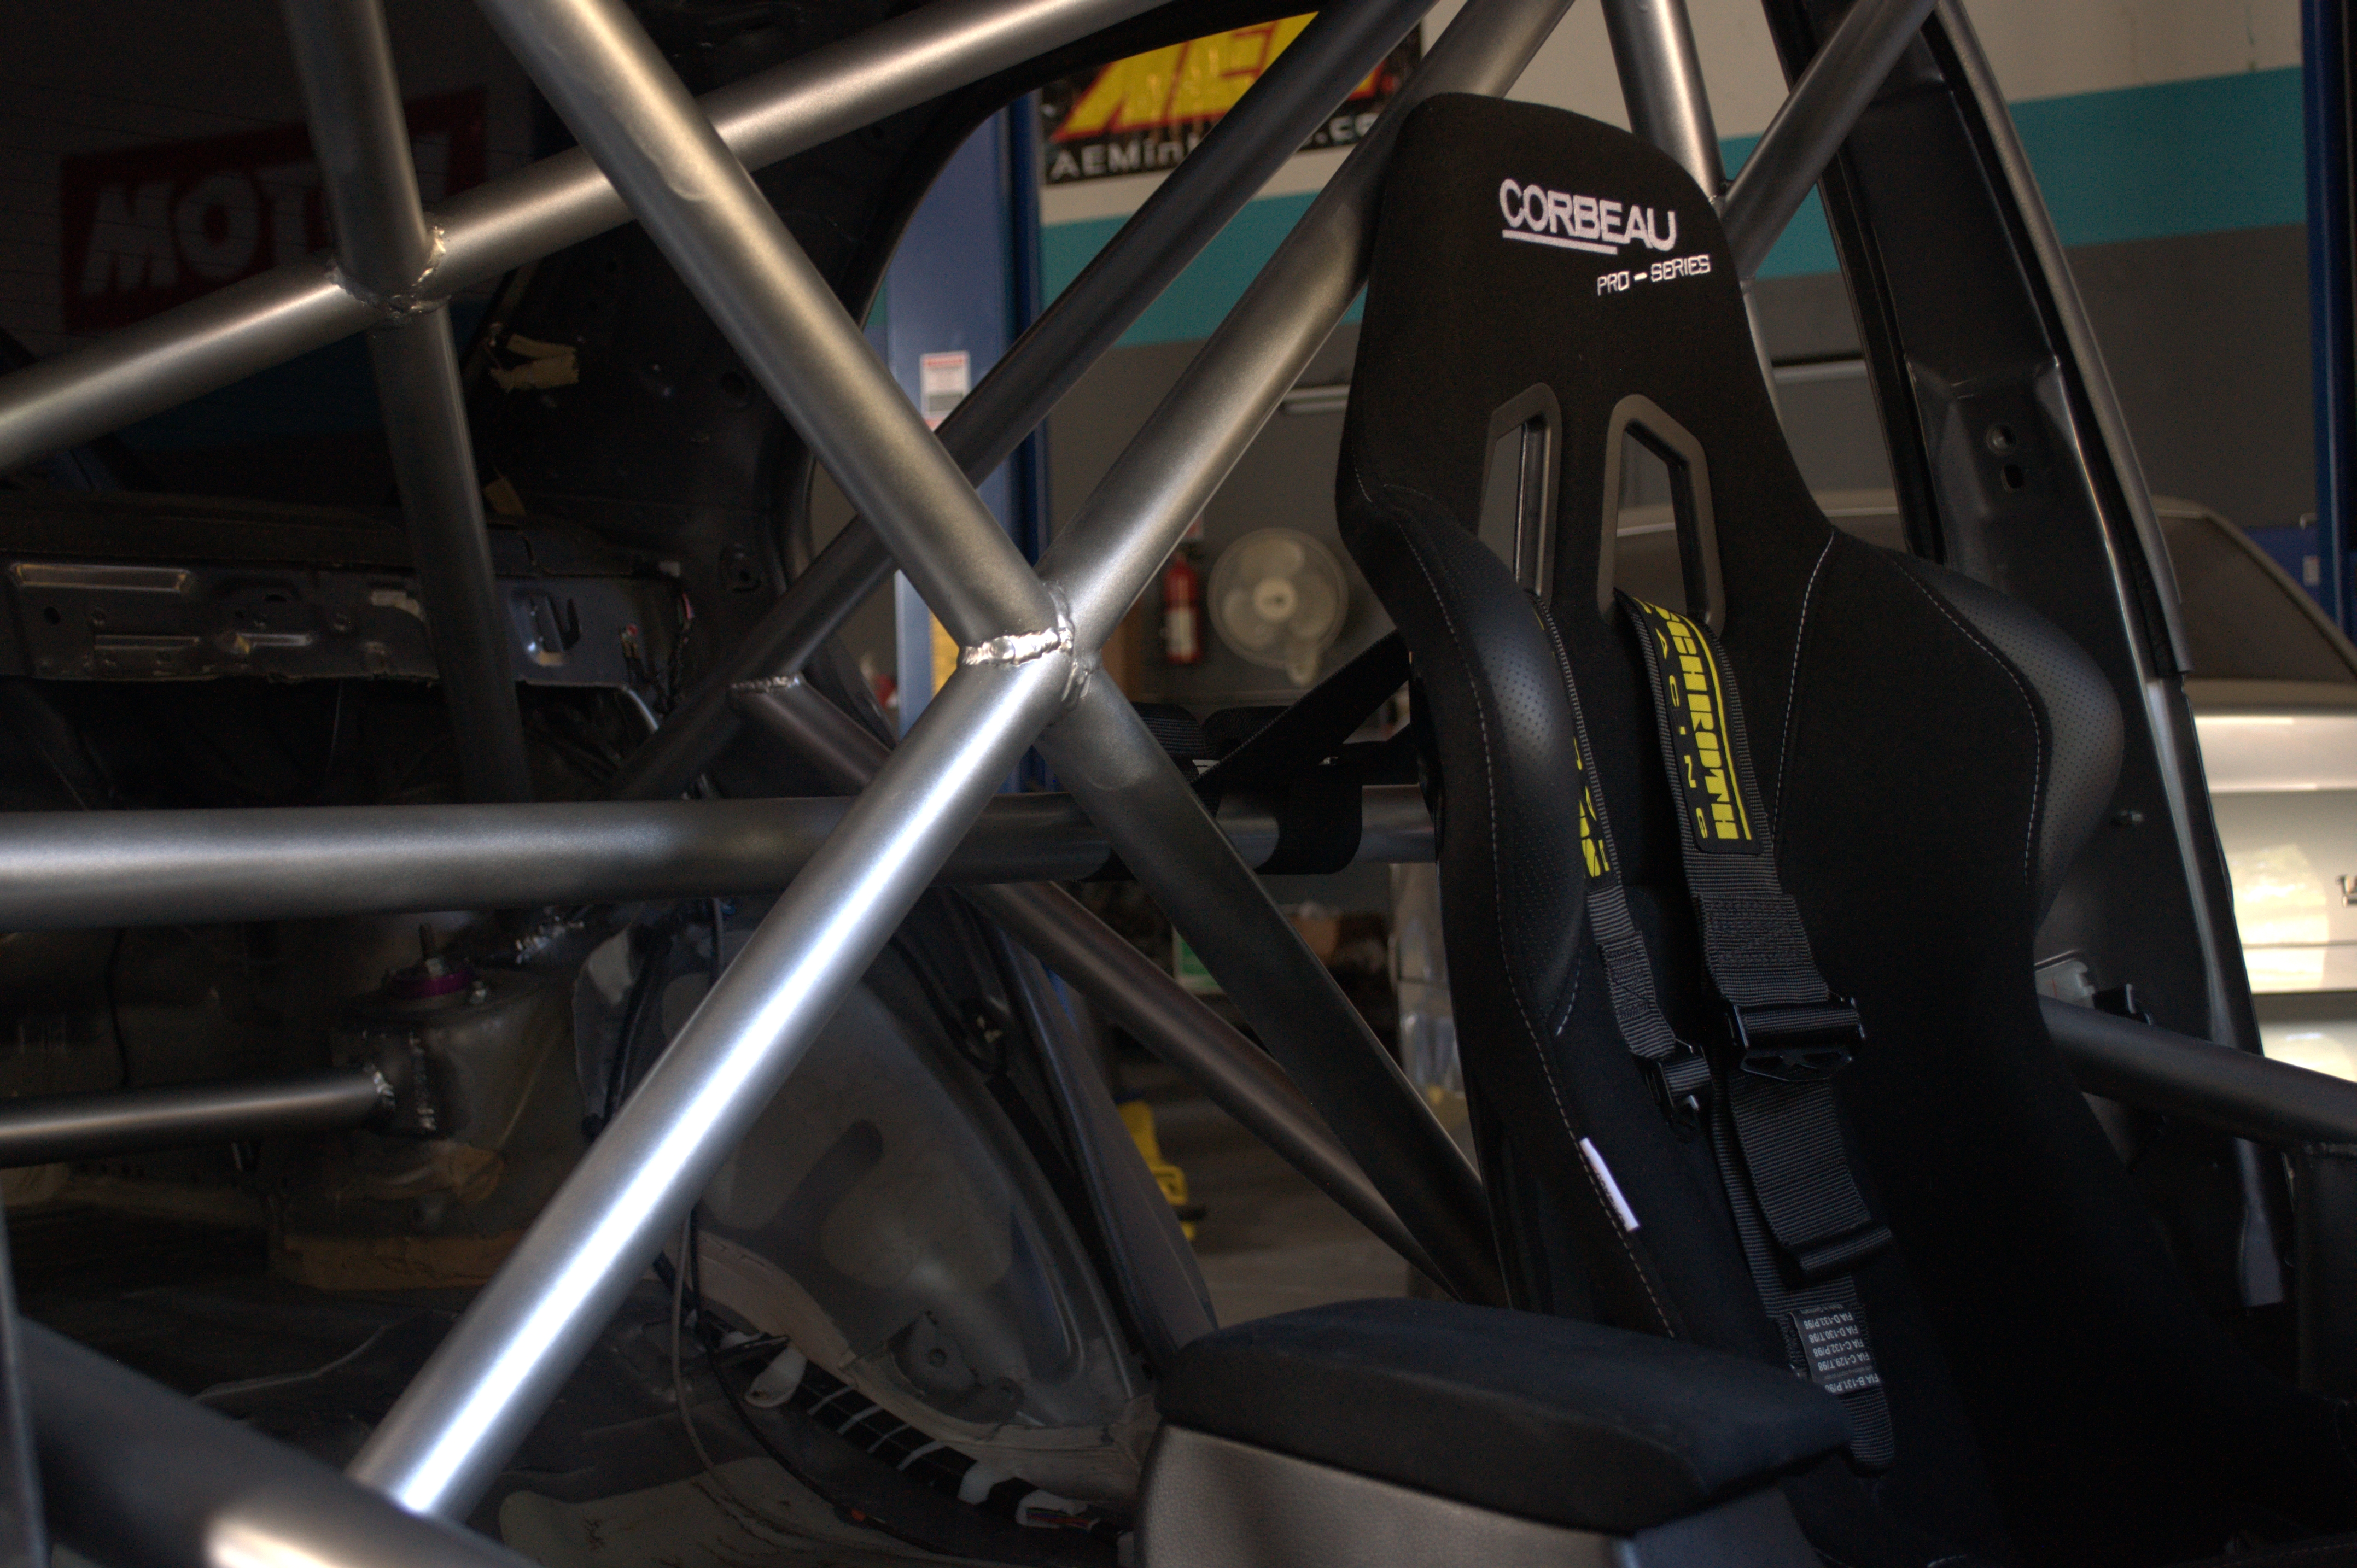
The actual fabrication step was next, cutting, bending, and notching. Safety is always first thing to be considered when building a cage which must be able to withstand impact from any area. To keep the driver snug and focused on driving rather than sliding out of the seat a Corbeau Pro-Series race seat was used (FIA & SFI approved). The driver being is held in tight by a 6-point Scrothe Profi II. The next thing the driver needed was a steering wheel; in this case we used a Sparco 350 mm suede wheel attached to a Sparco Racing weld-on quick release. The quick release was then spaced out to the driver’s specifications using 1” D.O.M steel. The rest of the cage was then built specifically around the driver and seating position. Because the car was over 3,000 lbs rules specified that 1-3/4” .120 wall D.O.M steel with an “X” incorporated into the main hoop and back-stays. After prepping the chassis for the cage we quickly got to work on the front portion of the cage including the boxes, main hoop, a-pillar bars, dash bar, door bars (un-interrupted), harness bar, roof bars, and corner supports. Once everything was tacked together we then cut holes into the front floor of the chassis and dropped the cage through so that Will could get to welding all the bars fully around. Once fully welded the front portion is pulled back up, boxes are then welded into their final location. We then installed foot protection bars, from the front bars to the firewall to protect the driver from a severe frontal impact. The next step involved creating the back-stays, the support bars from the main hoop to the rear strut towers. After cutting and welding an “x” into the back-stay bars we built bars from the bottom of the main hoop to the back-stays to further structural integrity. The last step was creating gussets for the door bars, A-pillars, B-pillars, and building mounts for the seat as well as tabs for the harnesses to mount to.
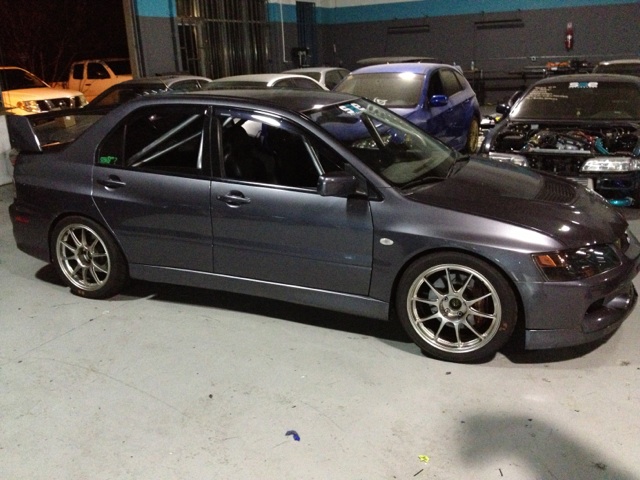
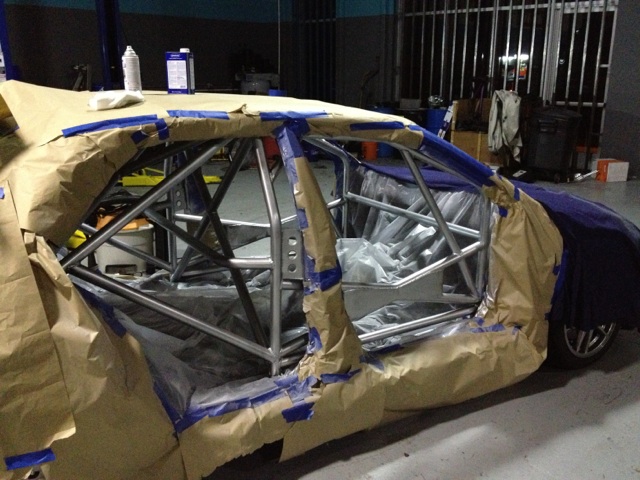
At this point it was a Tuesday and the next event was Sunday, only five days to clean, prep for paint, paint, and re-install the dash, wiring, seats, windshield, etc. Cutting it close to say the least. After scrubbing the cage with scotch-brite the car was ready to get taped up and painted. We chose a metallic silver that would go well with the OEM Graphite Grey and silver Wedsport TC105N wheels. After getting a few layers of paint on we left the car out in the sun to dry and cure. Thursday was when we installed the dash, cleaned up the wires, mounted the gauges, installed the seats, and got the car running again. The following day the windshield was re-installed, roll bar padding was cut and fit to protect the driver from impacting the cage in the event of a roll-over or impact.
On the day of the event, Auto Club Speedway with Speedventures the car ran great! Chassis felt incredibly rigid compared to before, there were quite a few areas on the track which felt different because of prior flex in the chassis. Seating position felt A LOT better, being somebody with long legs I was forced to choose either comfortable legs with arms stretched out, or comfortable arms and knees slammed into the dash. With the seating position low and pushed back and steering wheel all custom fit to me the driving experience was very good. Although the car isn’t the most pleasant to drive on the street because of road noise it is still very street-able as long as you have an MP3 player and some ear buds. Would recommend a cage, whether it be full or rear, to anybody who races their car semi-frequently. The safety factor alone out weighs the inconvenience.
*For more information or questions on getting a cage of your own contact us in person, over the phone, or by e-mail at 4040 Calle Platino Suite#123, (760) 295-6257, saemotorsportinc@gmail.com